
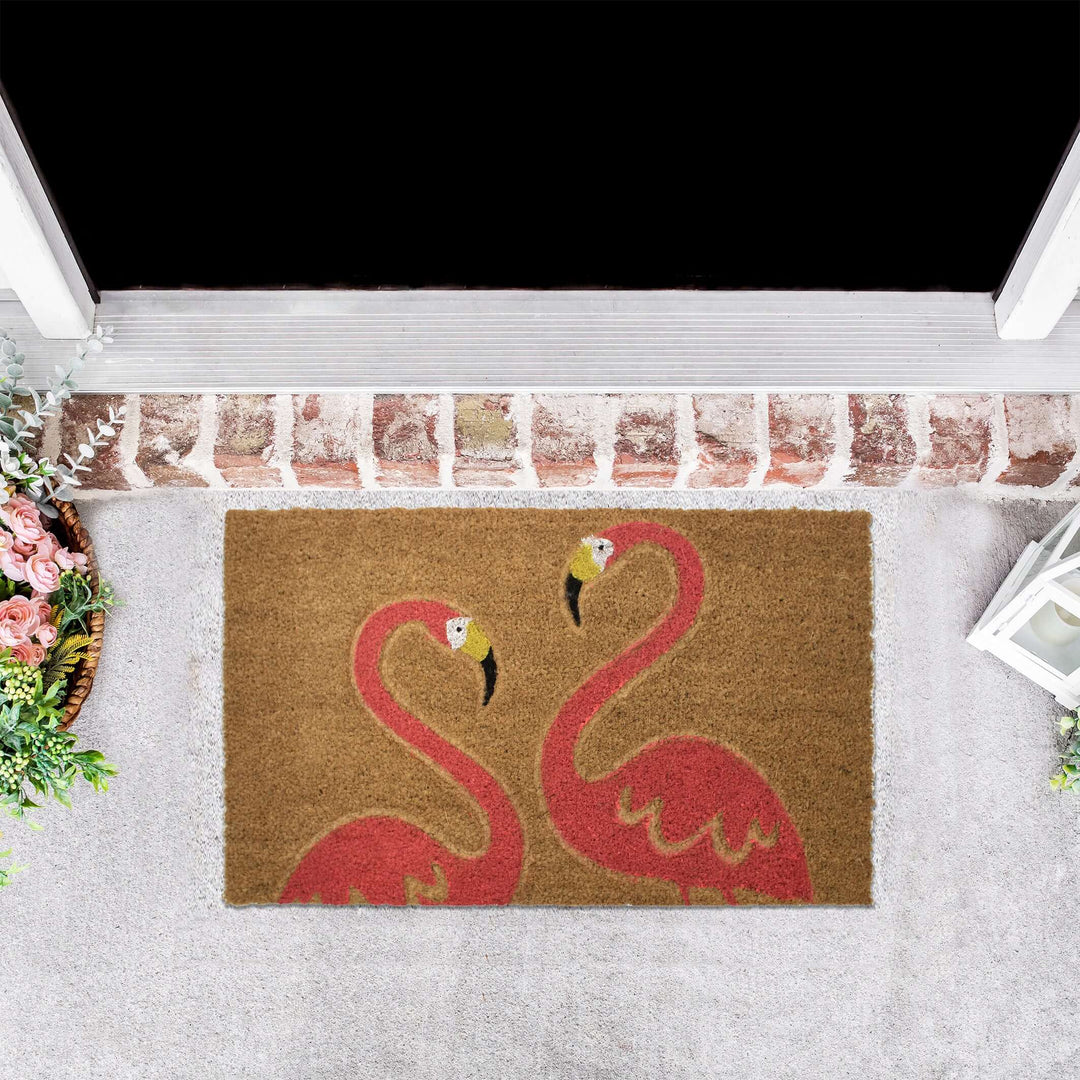

New Arrivals
View all


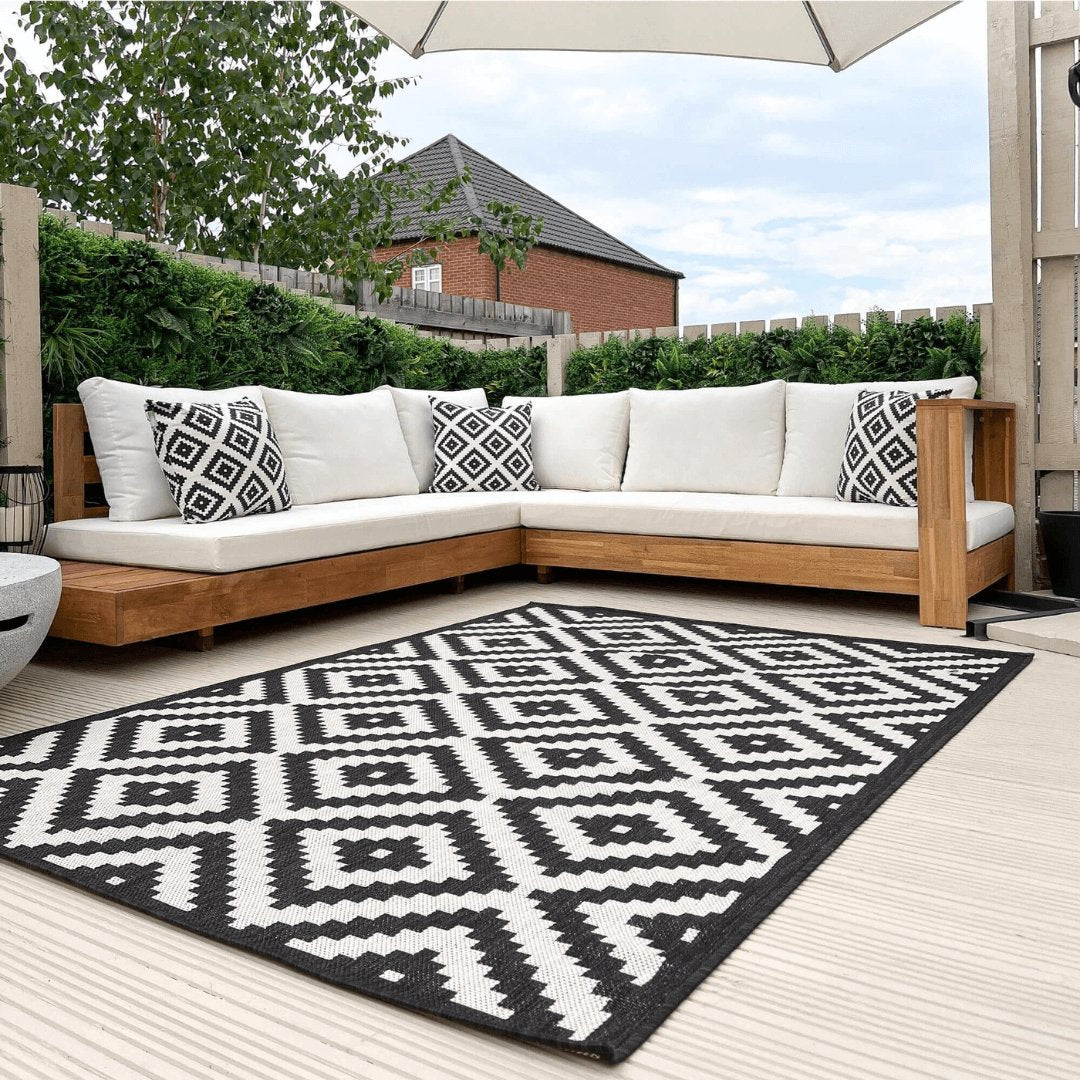
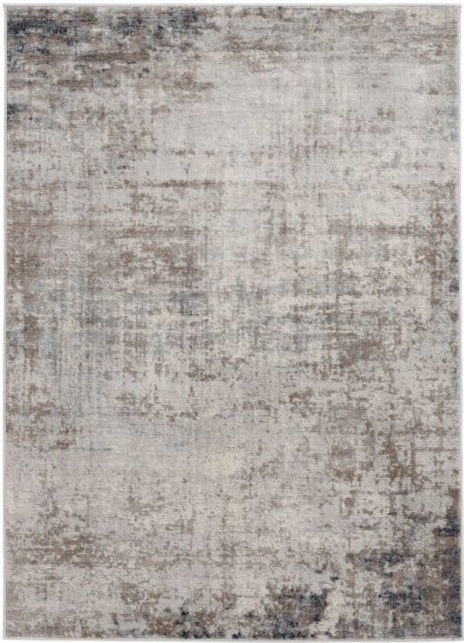
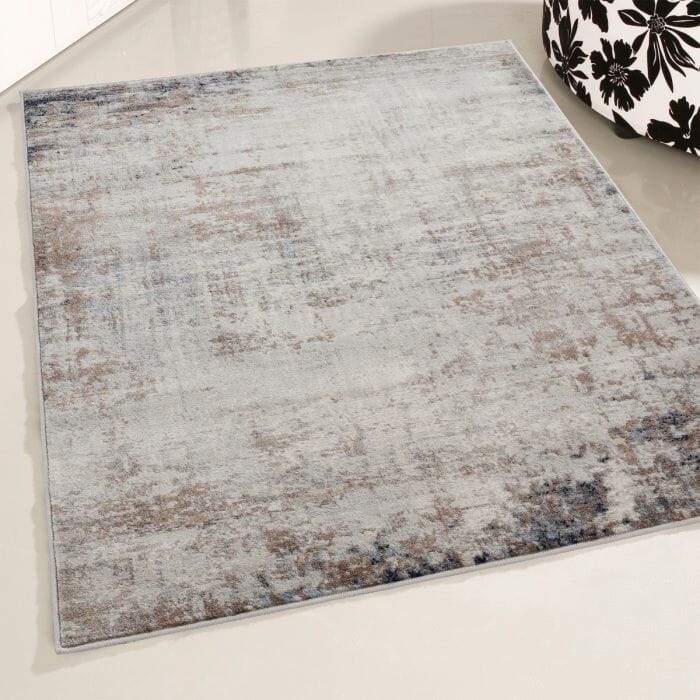
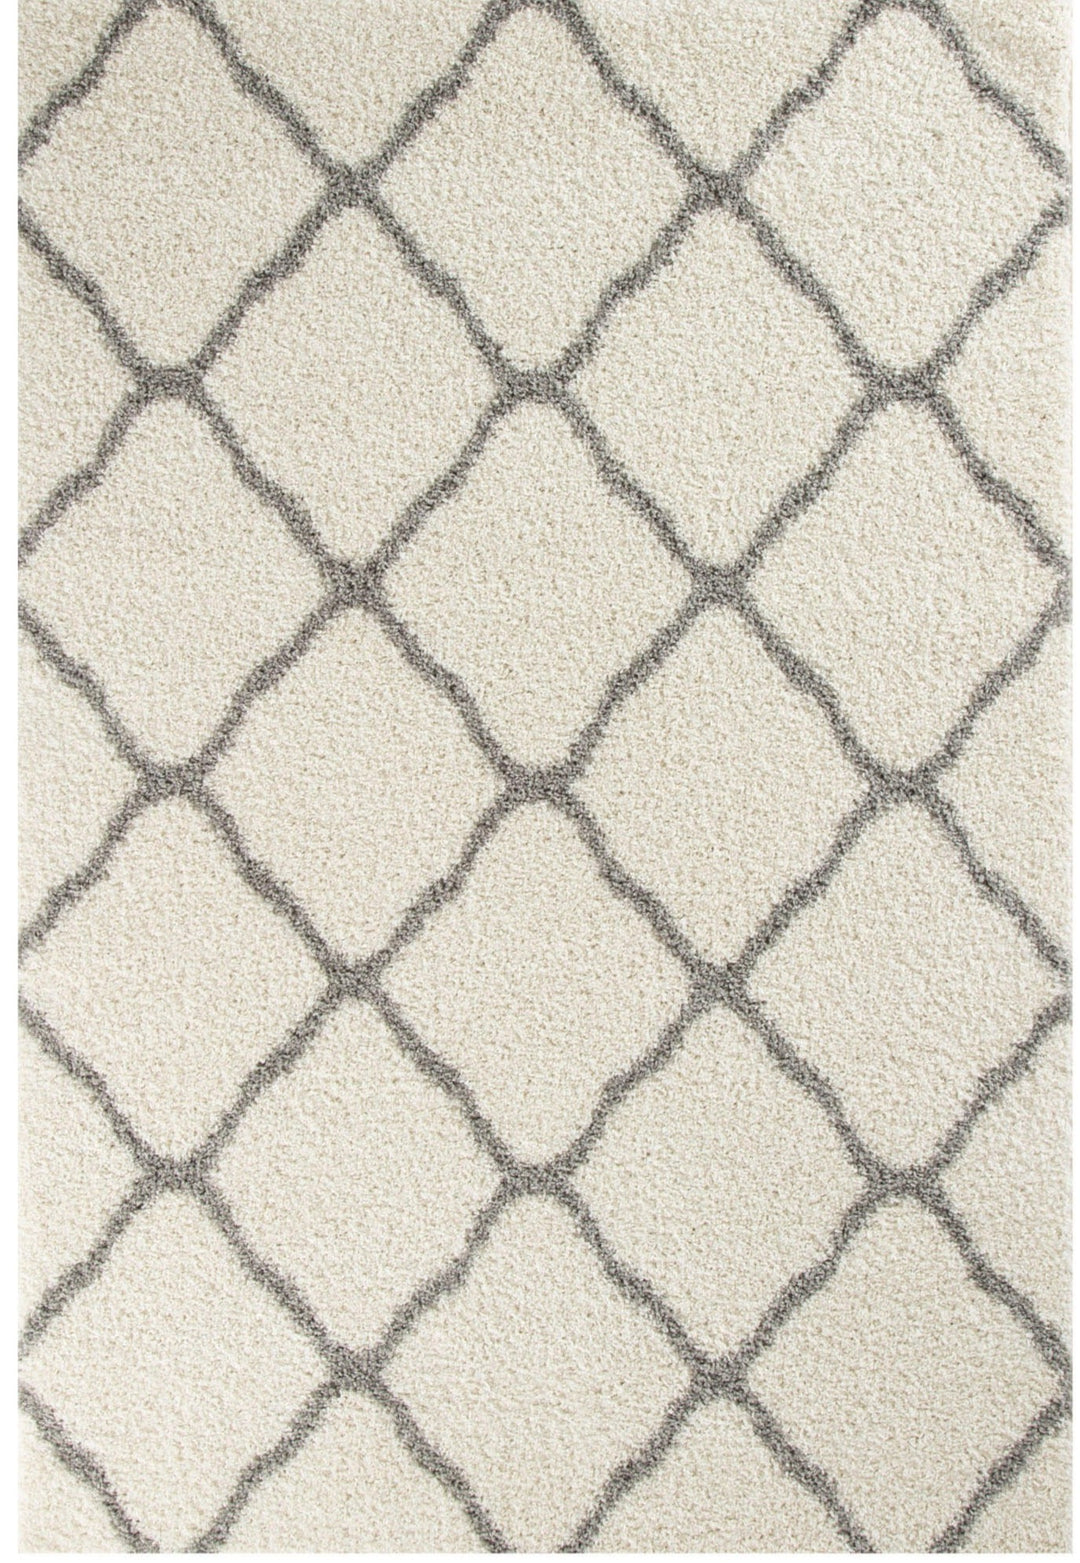
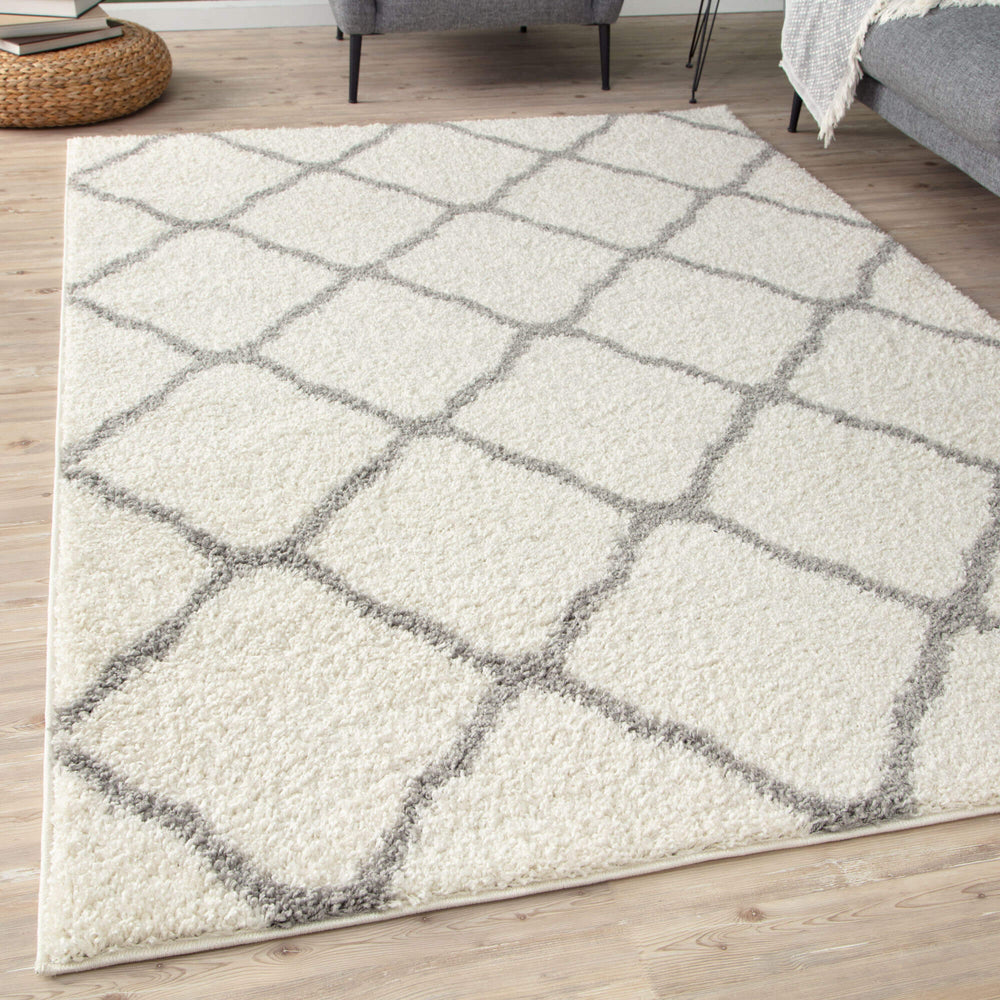
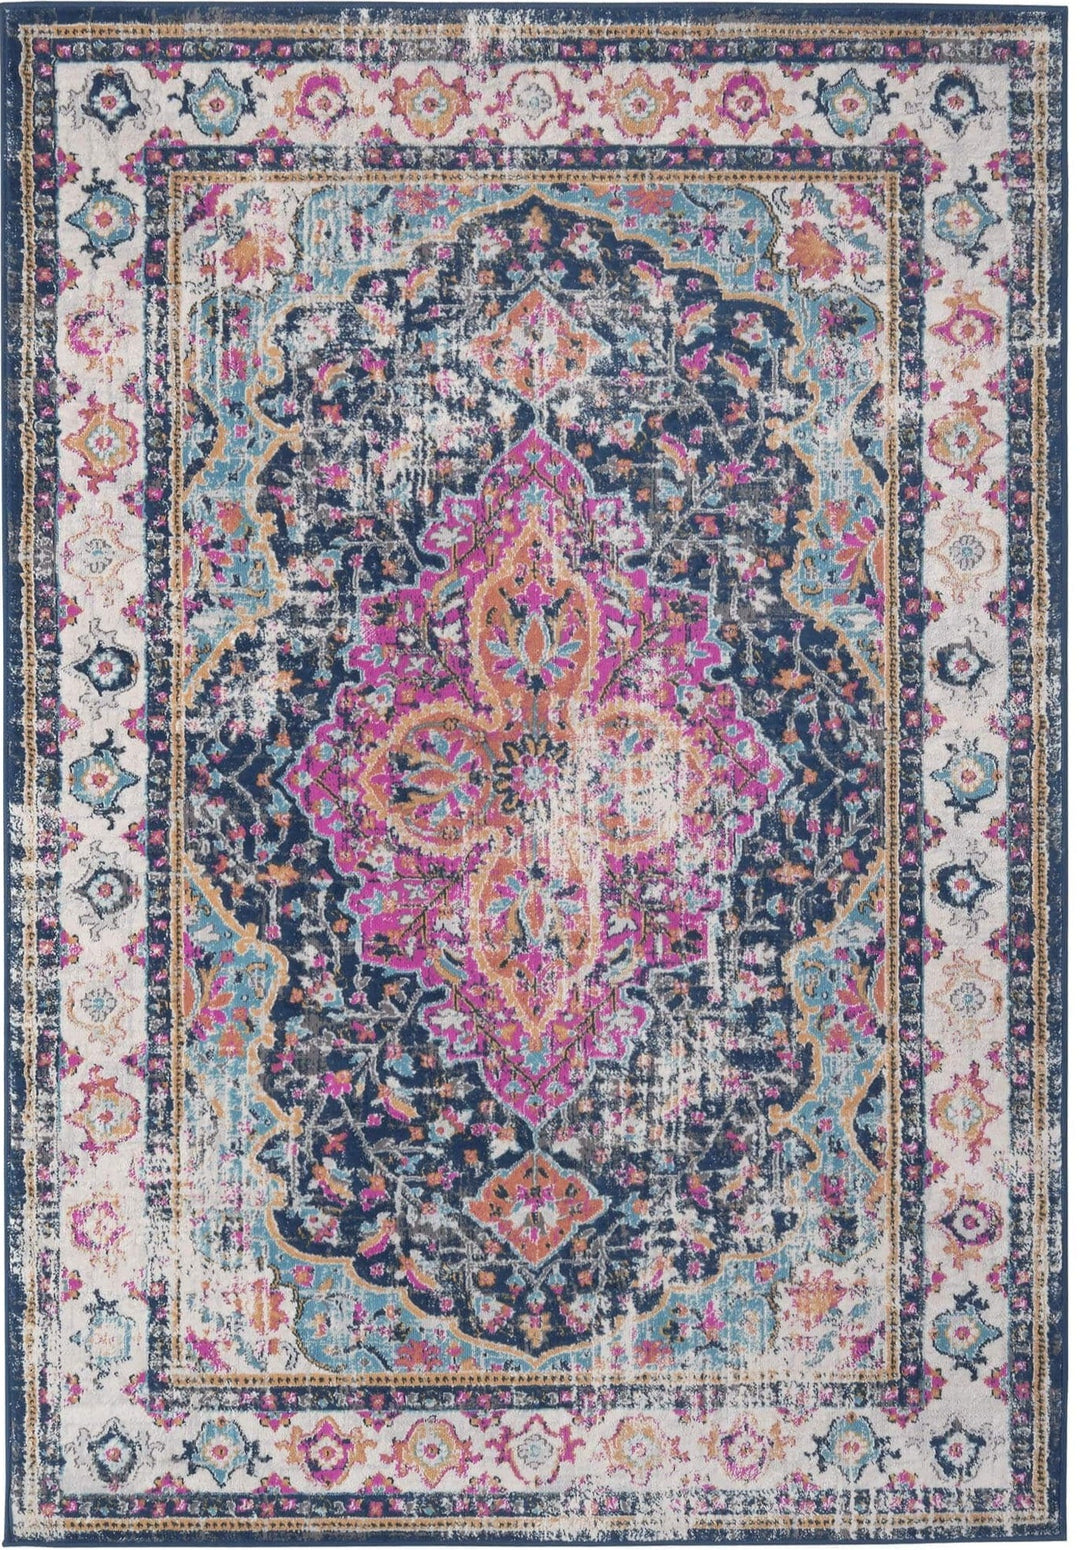
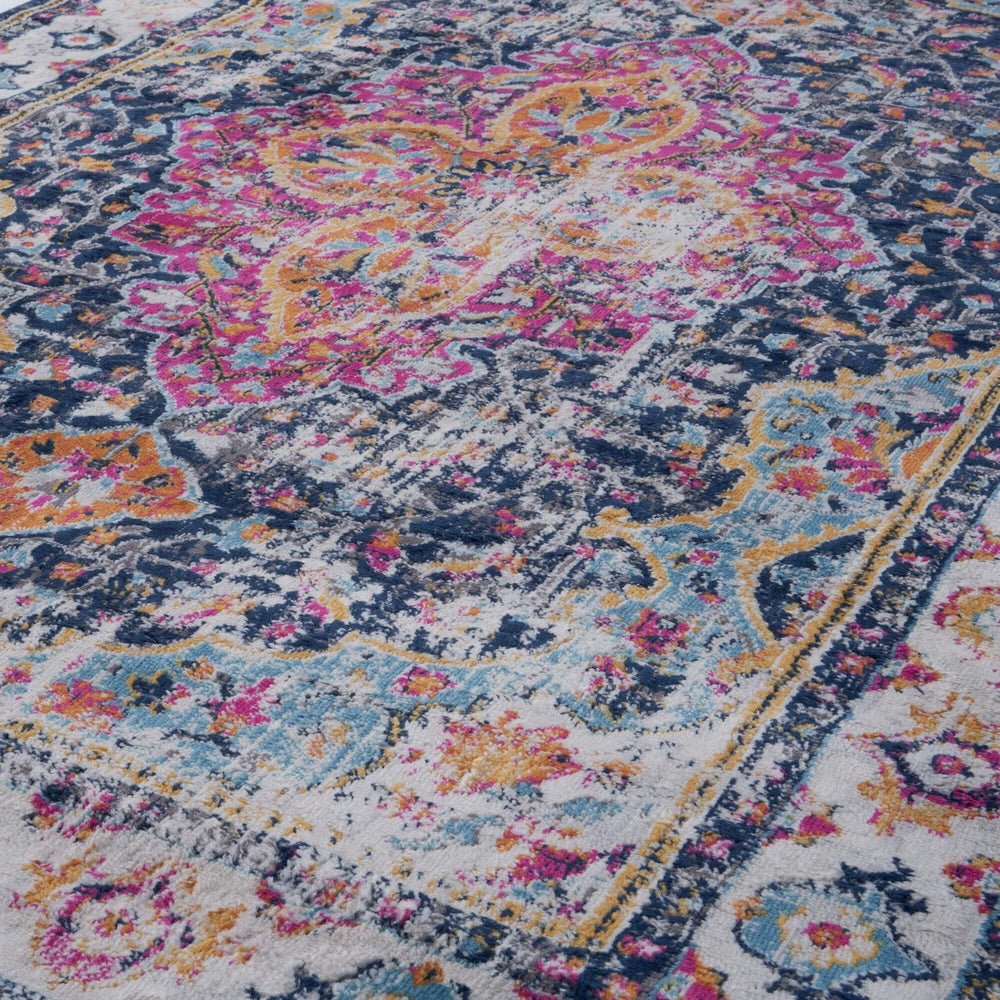
Our Best Sellers
View all
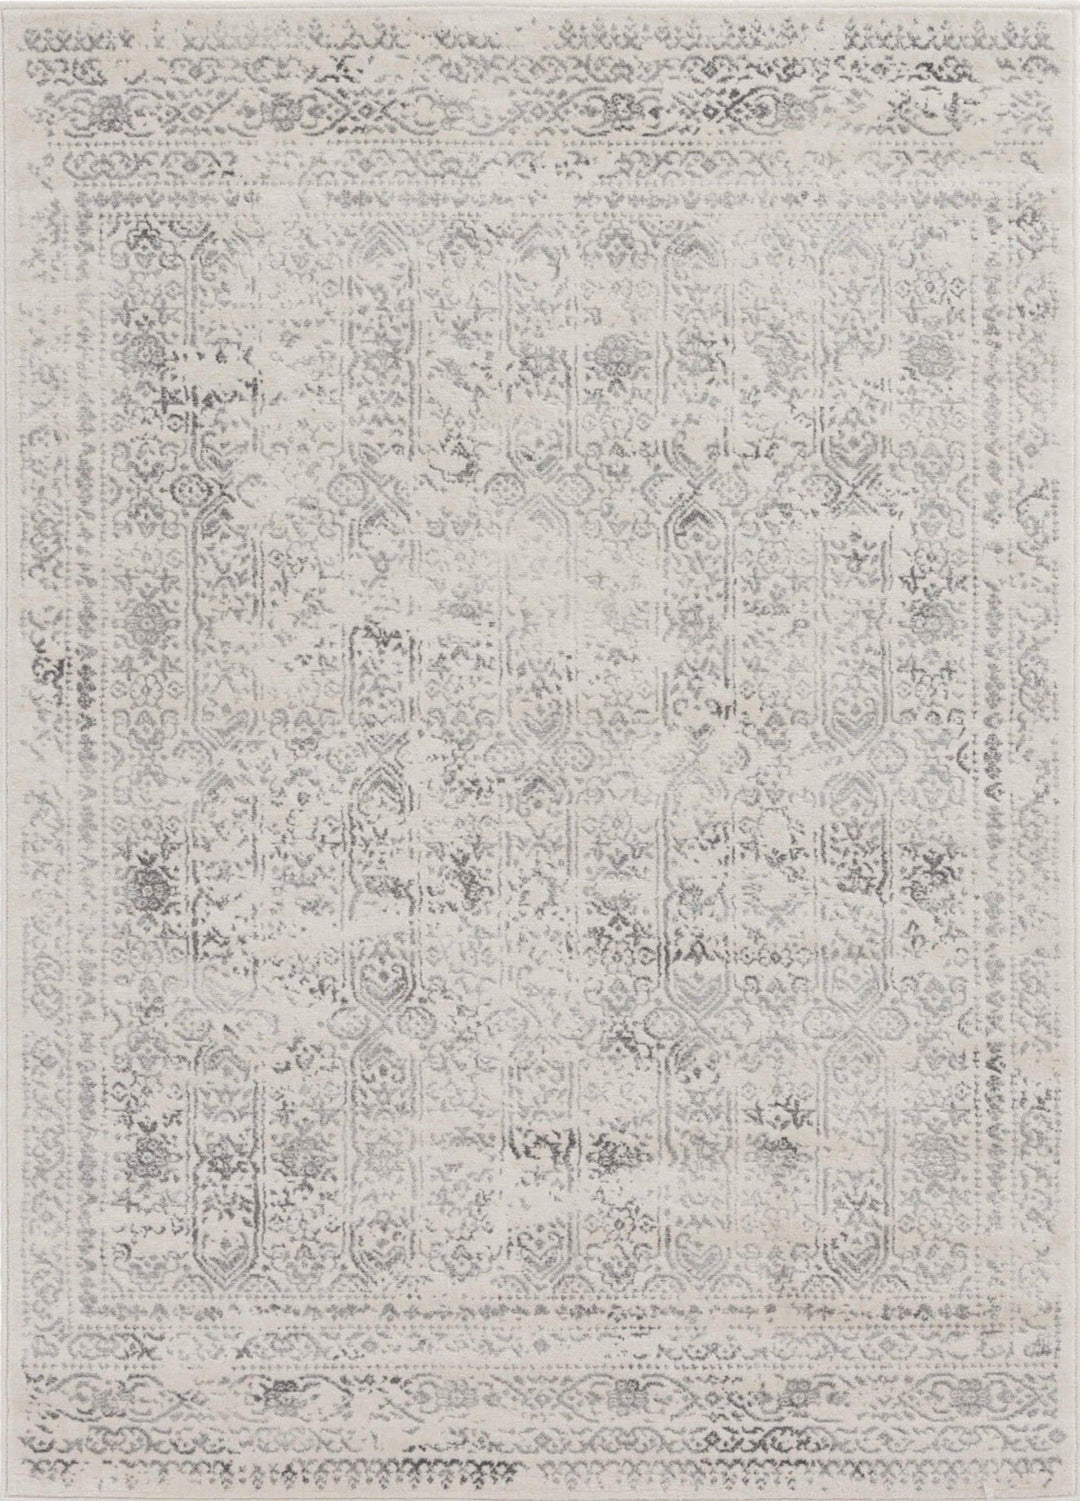
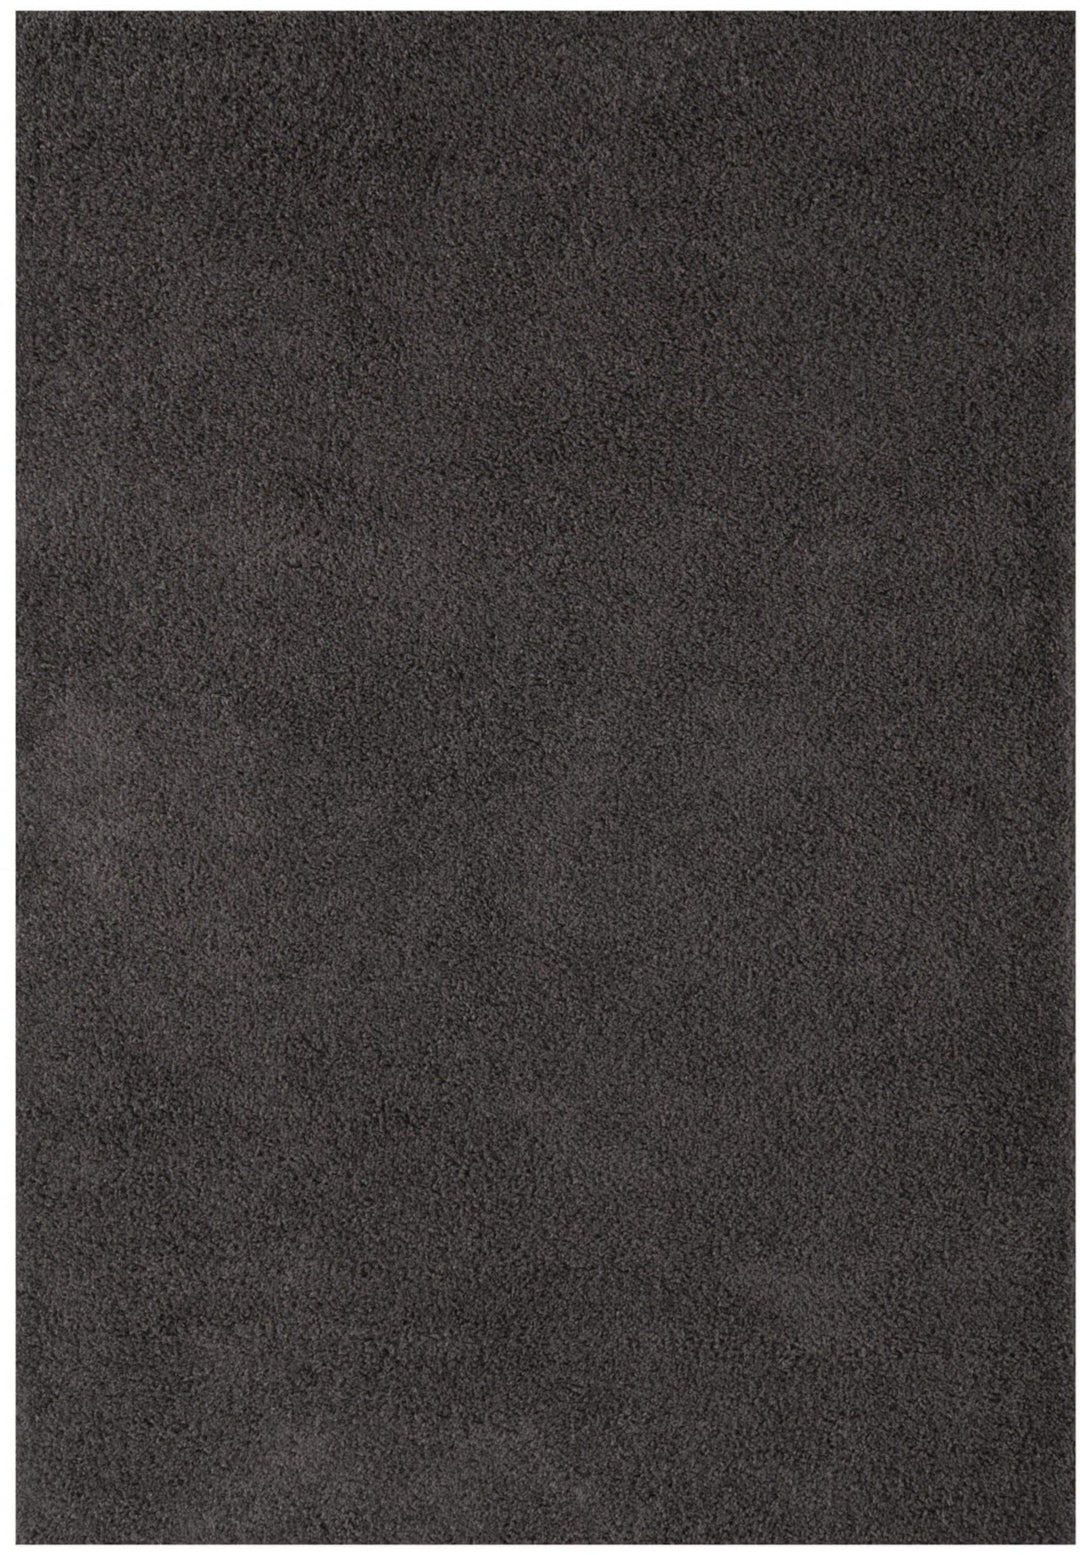
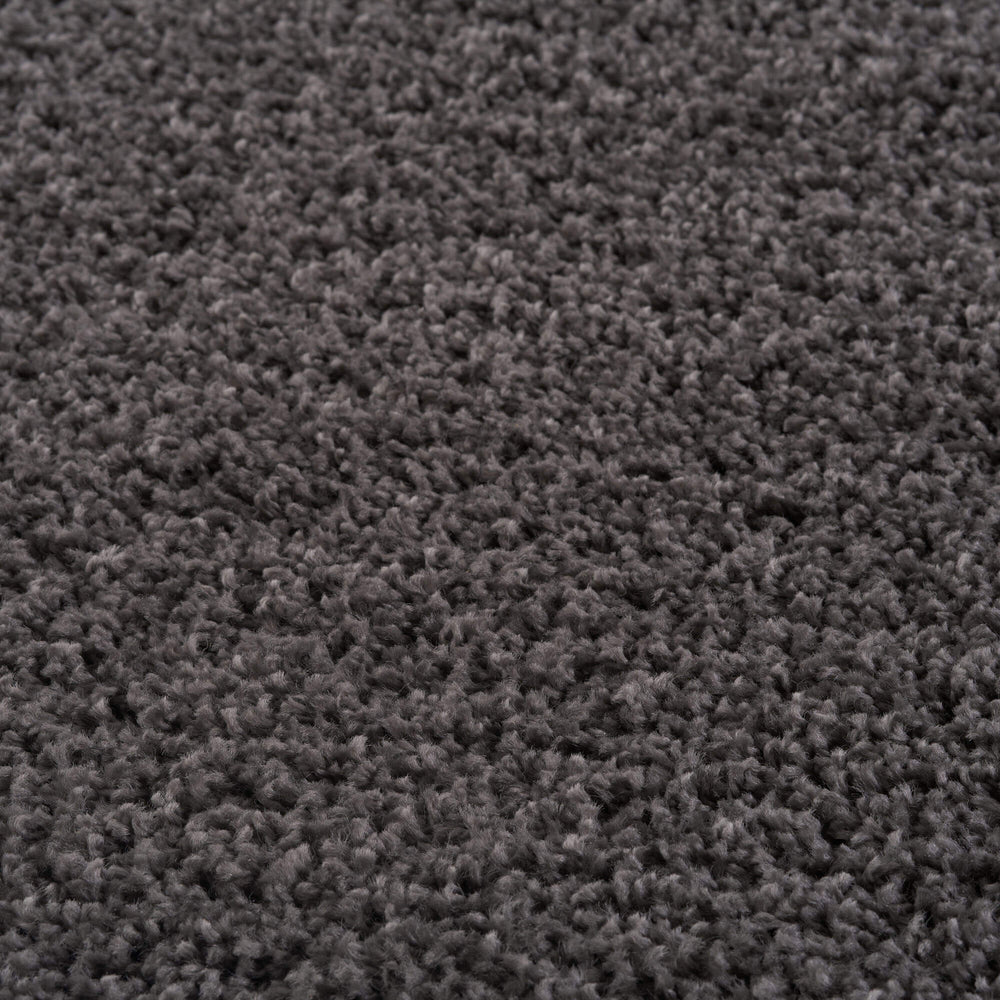
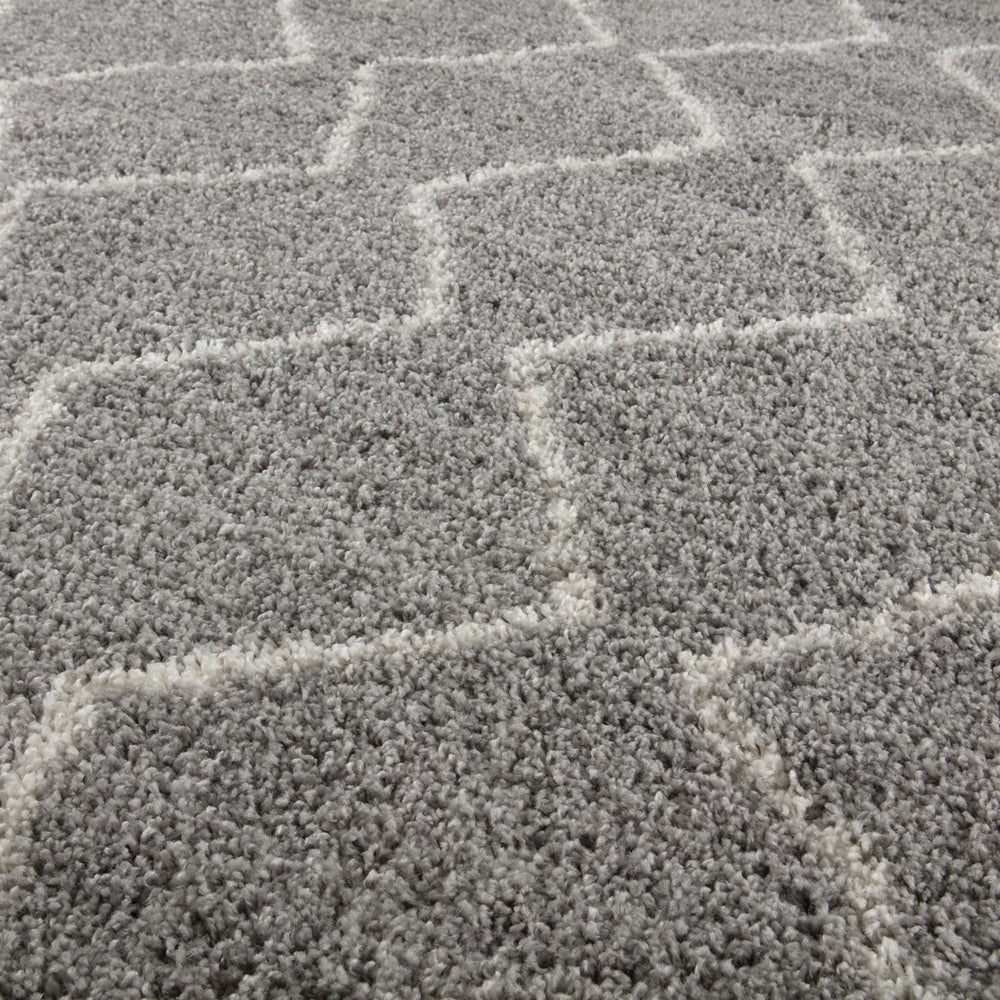
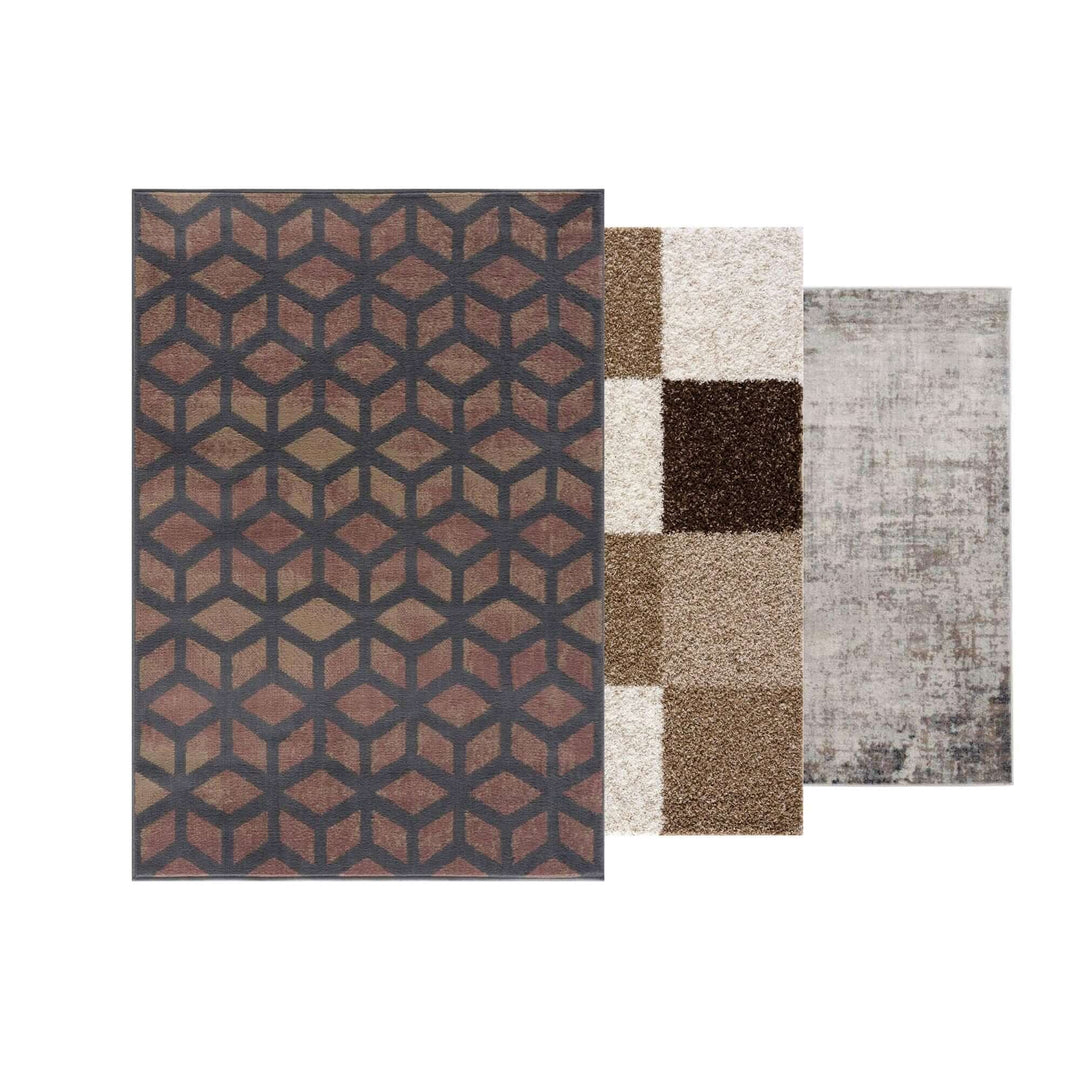
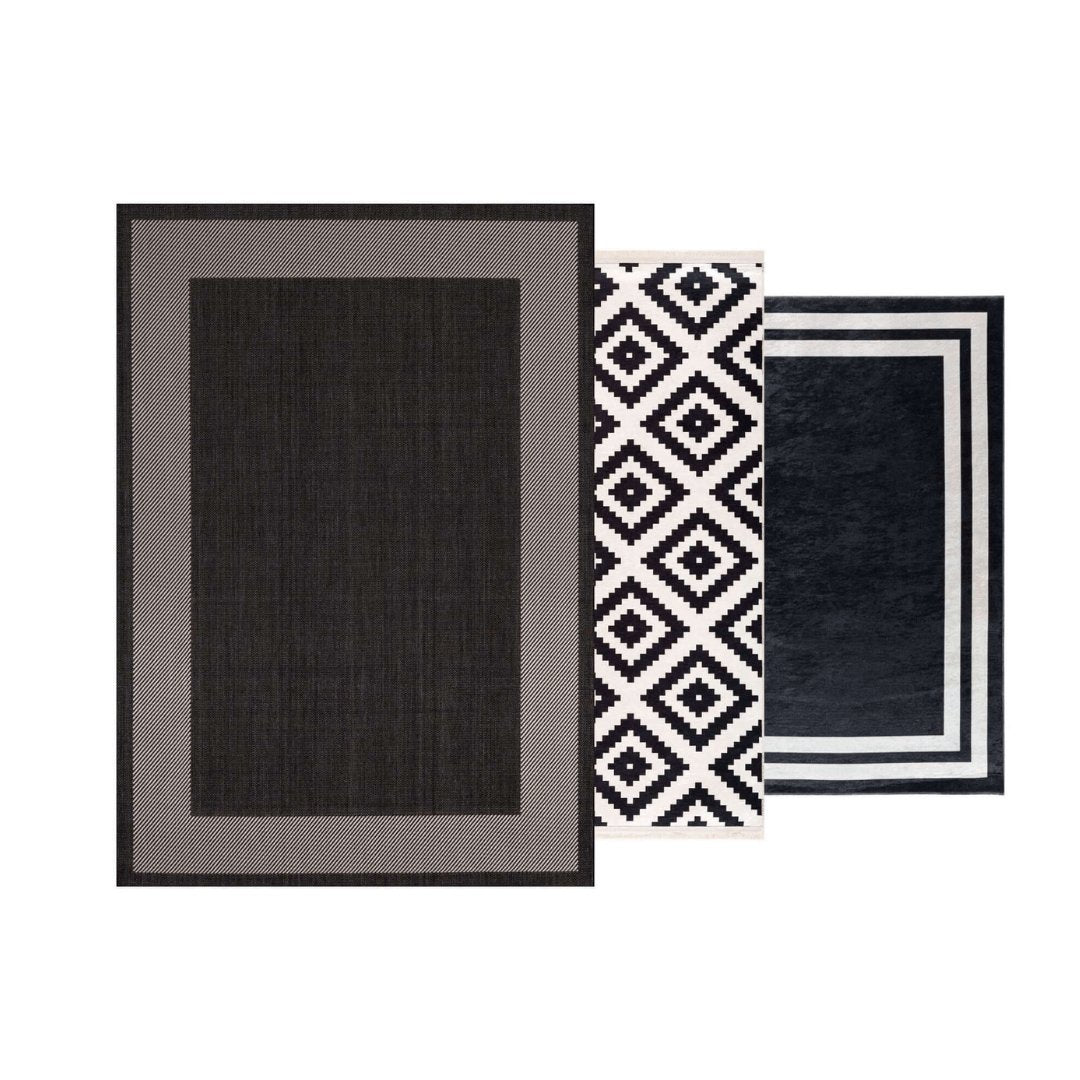
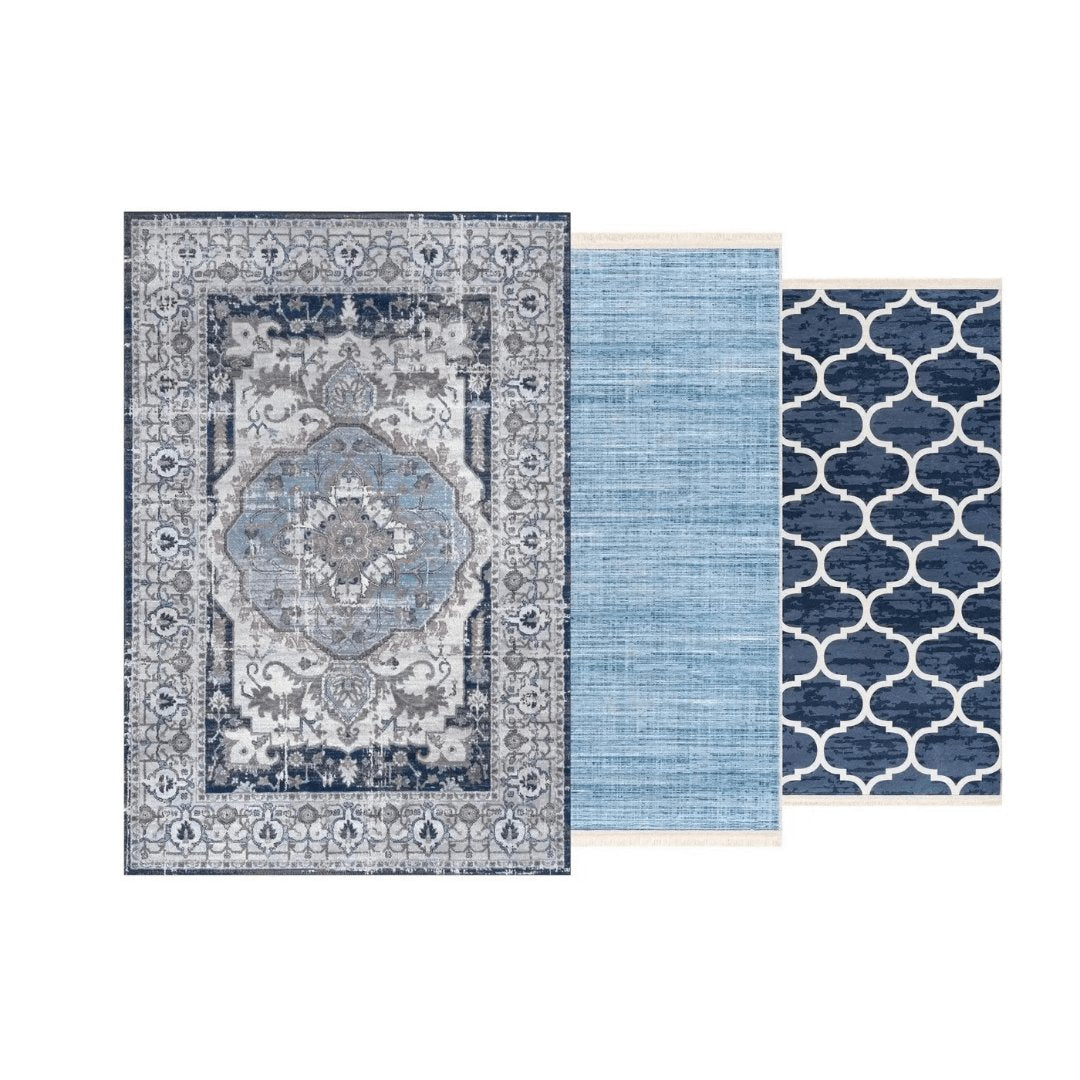
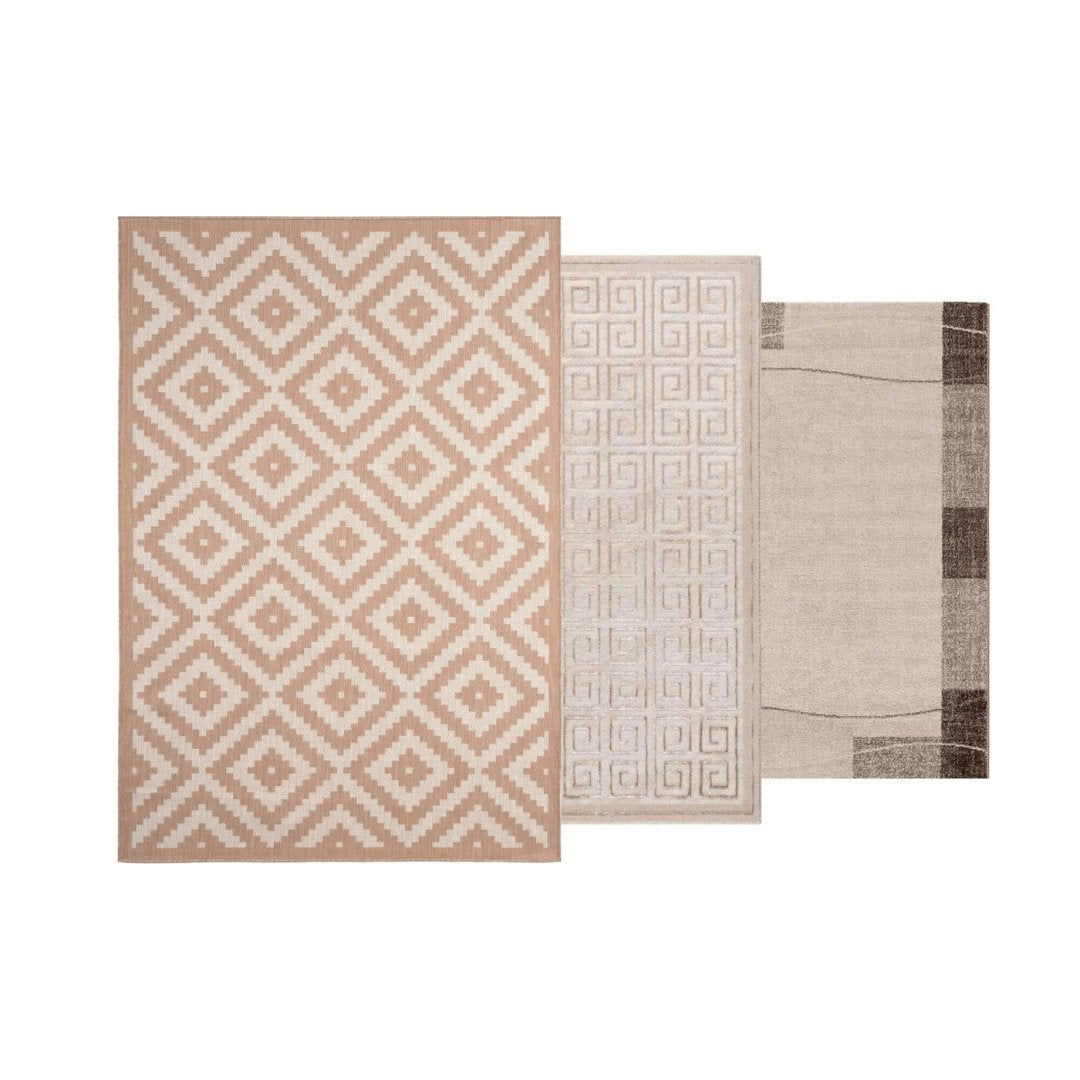
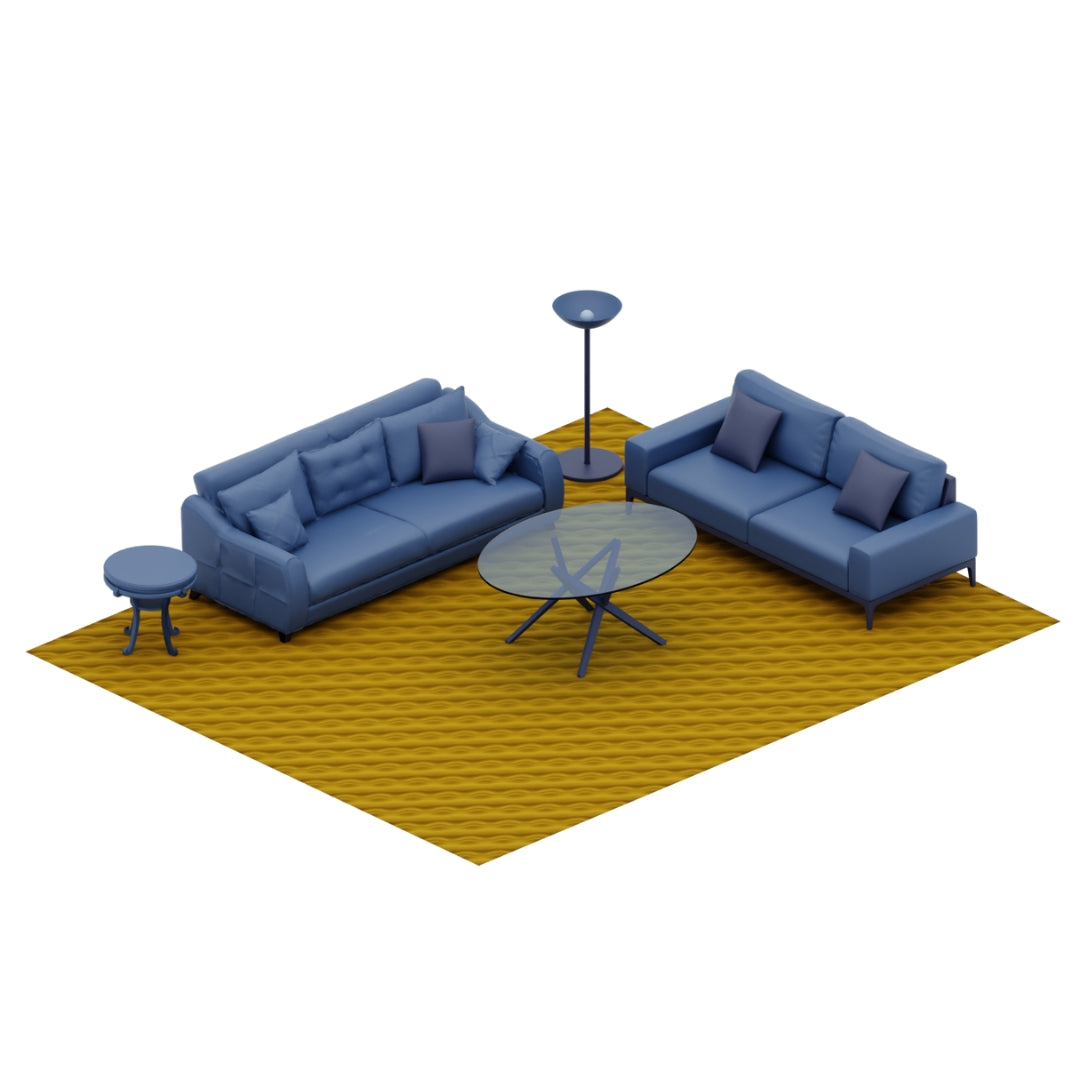
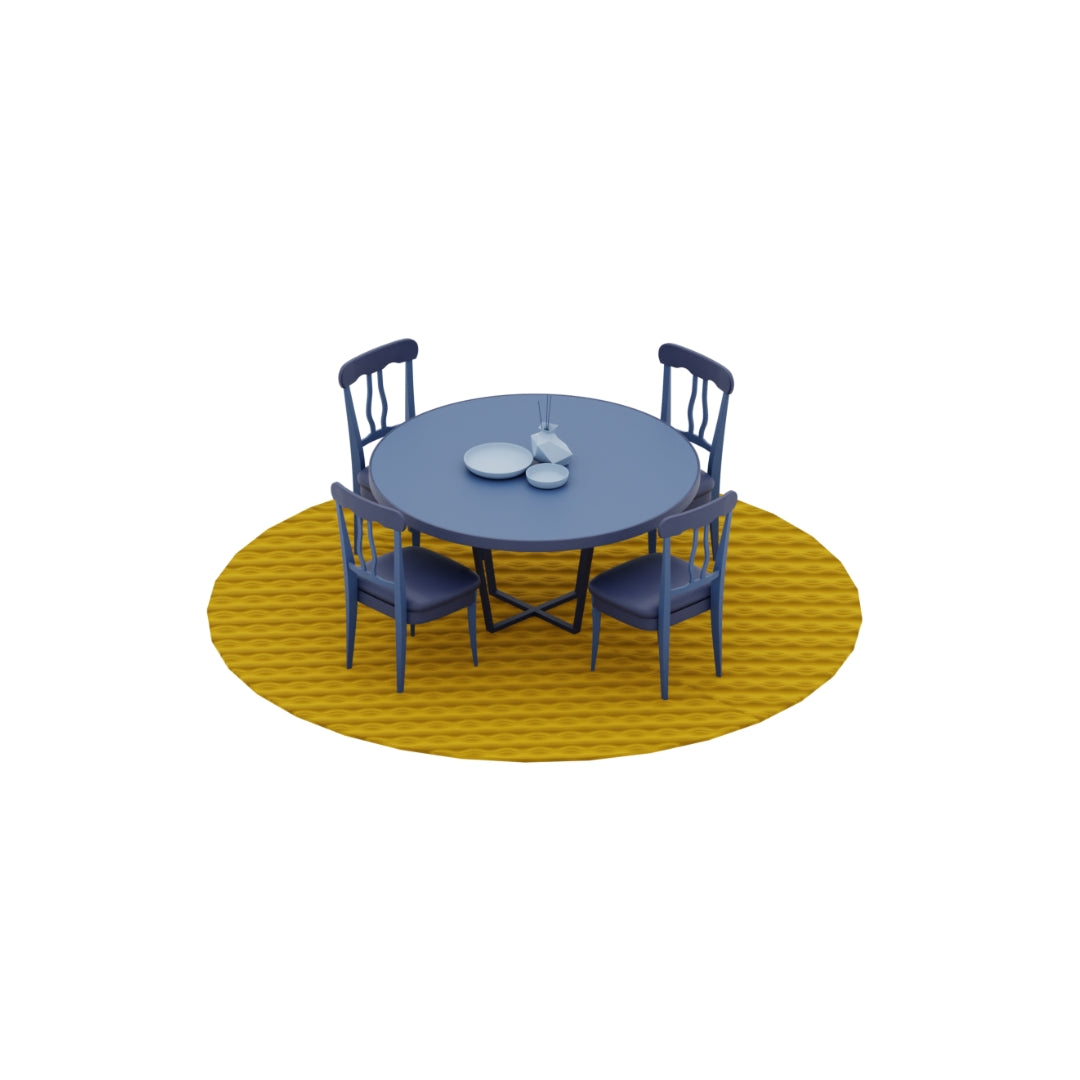
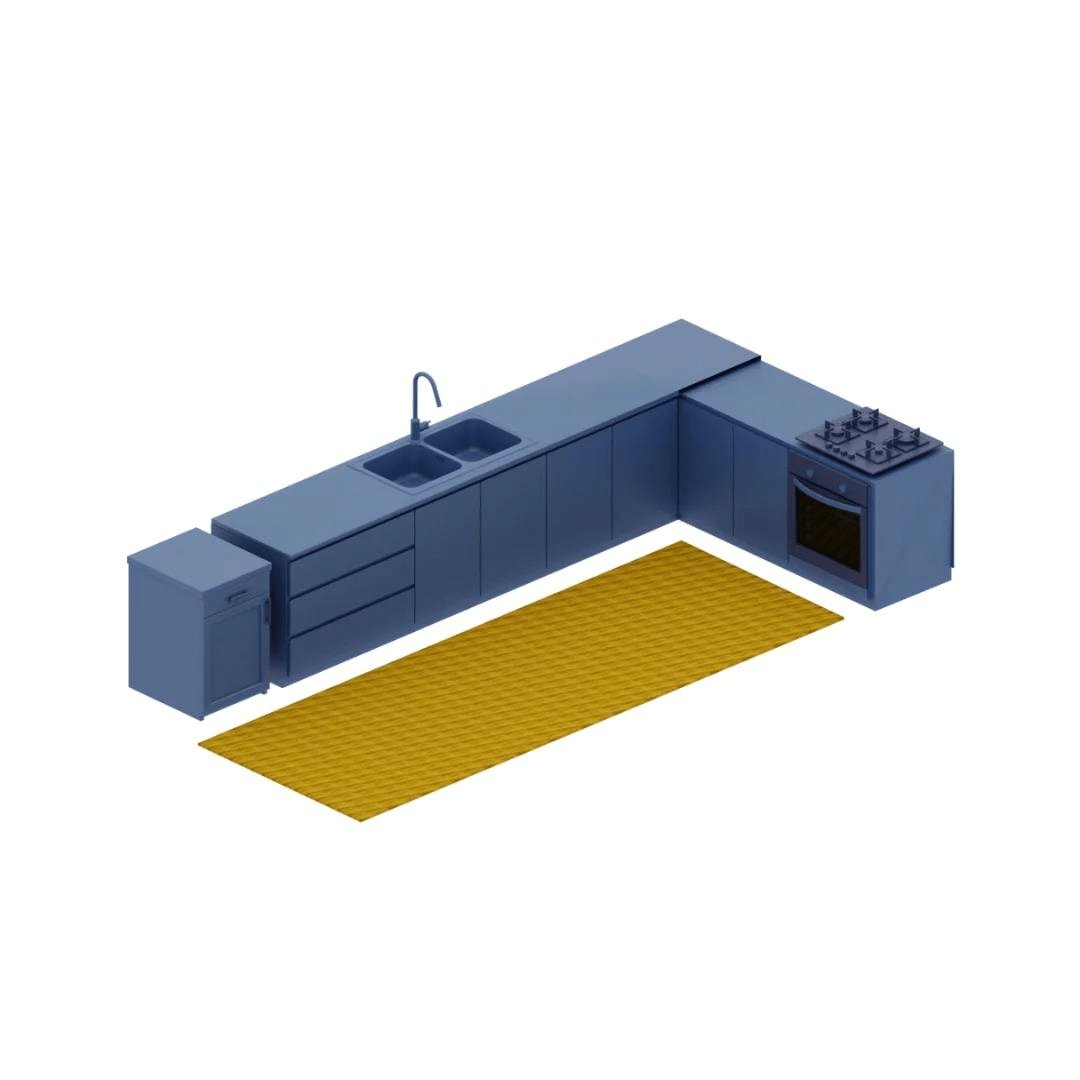
Rugs by Colour
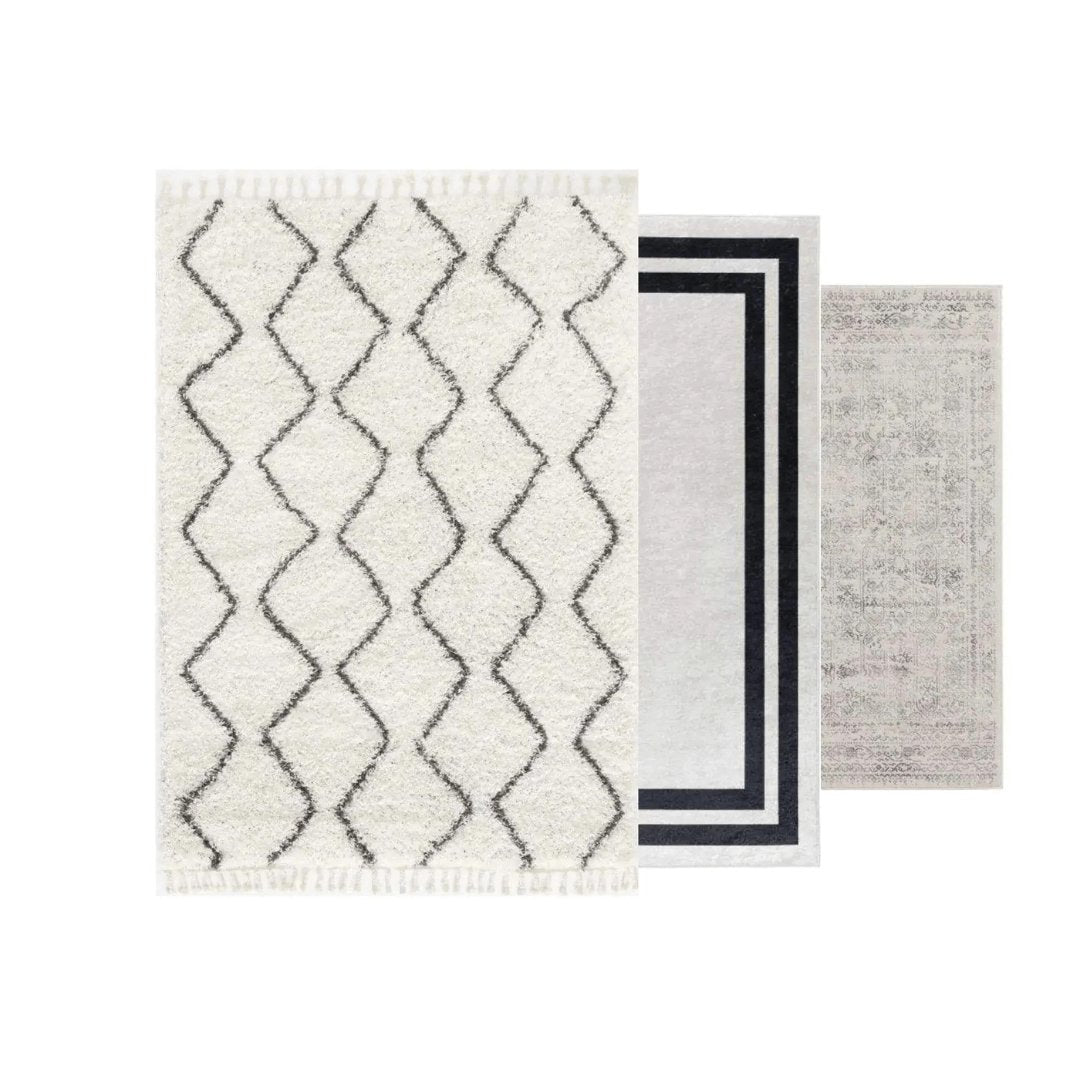
Rugs by Size
Blogs
Explore inspiring home decoration ideas and expert tips on our blog, transforming spaces into stylish havens.
Must Know About Rugs
Rug Wisdom at Your Fingertips. Discover Expert Tips on Cleaning, Sizing, and More.
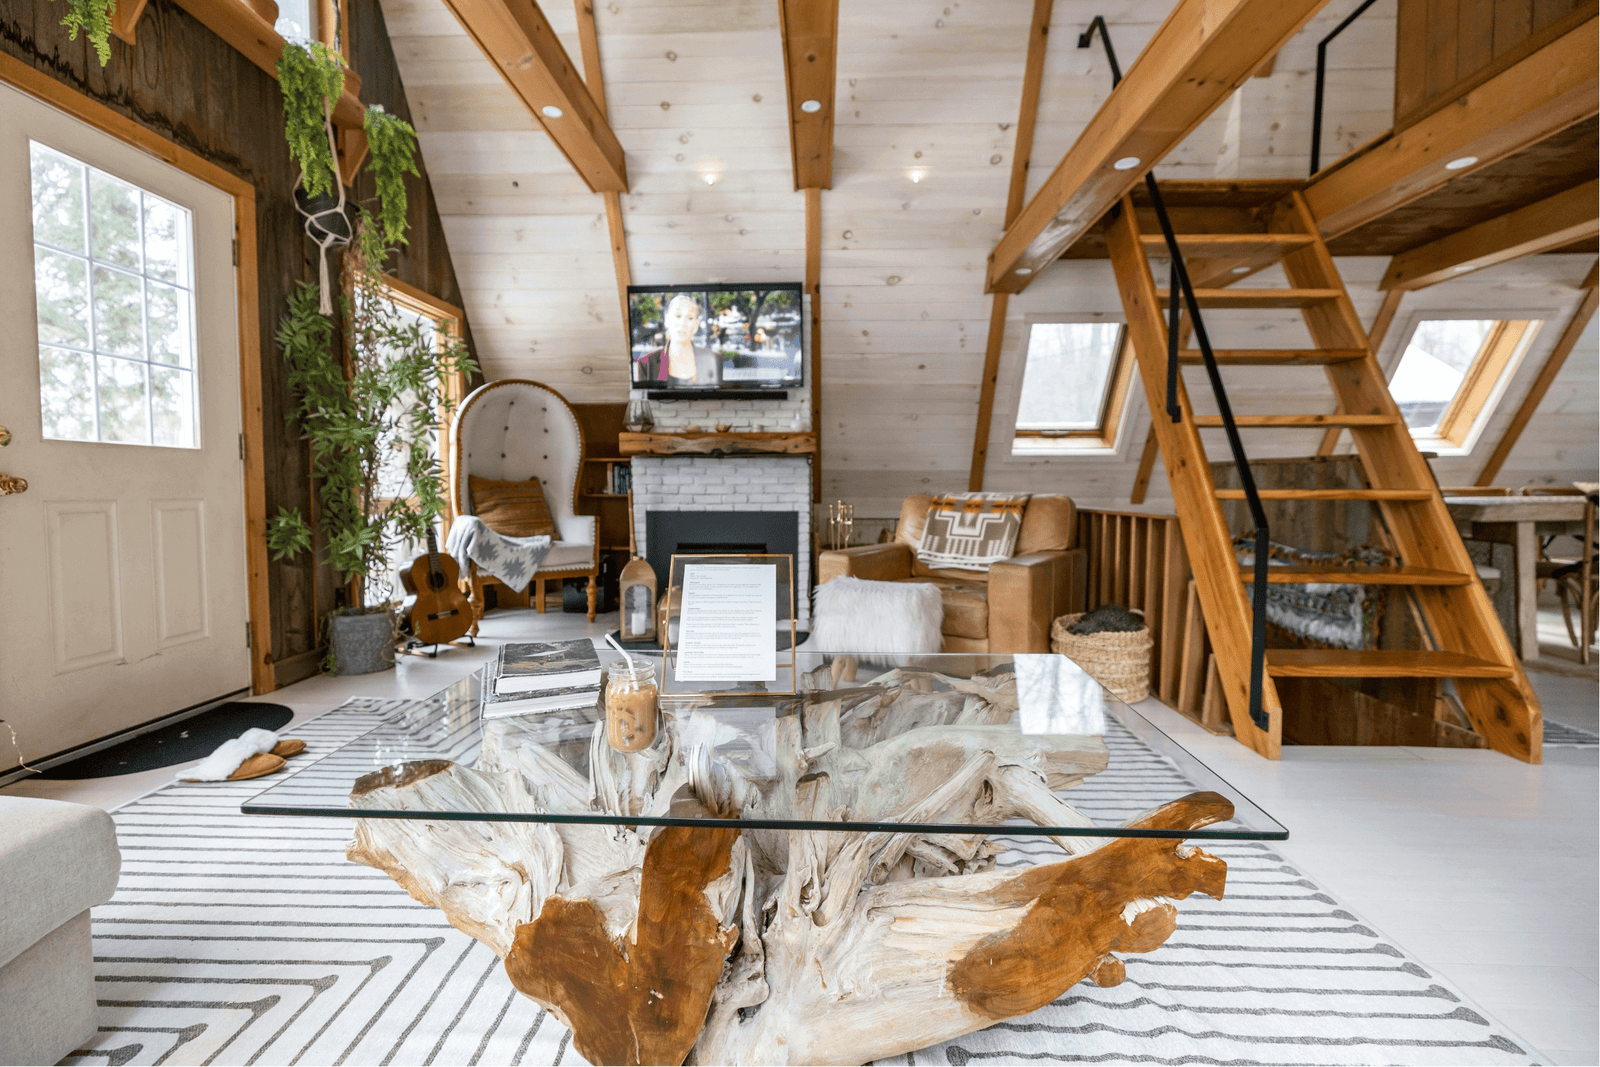
How to Wash a Rug ? (Washable Rugs Guide)
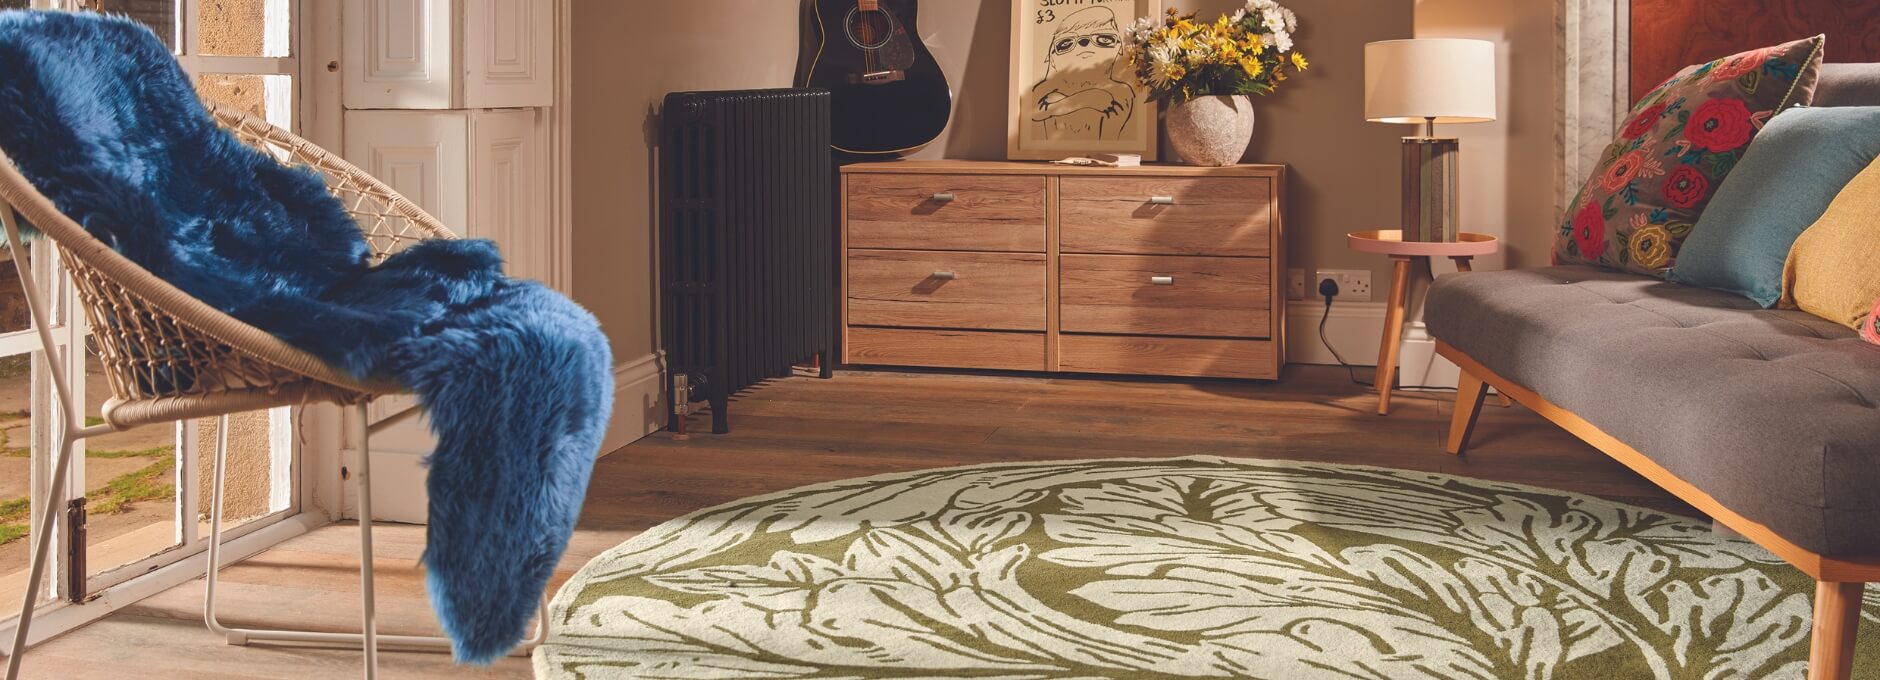
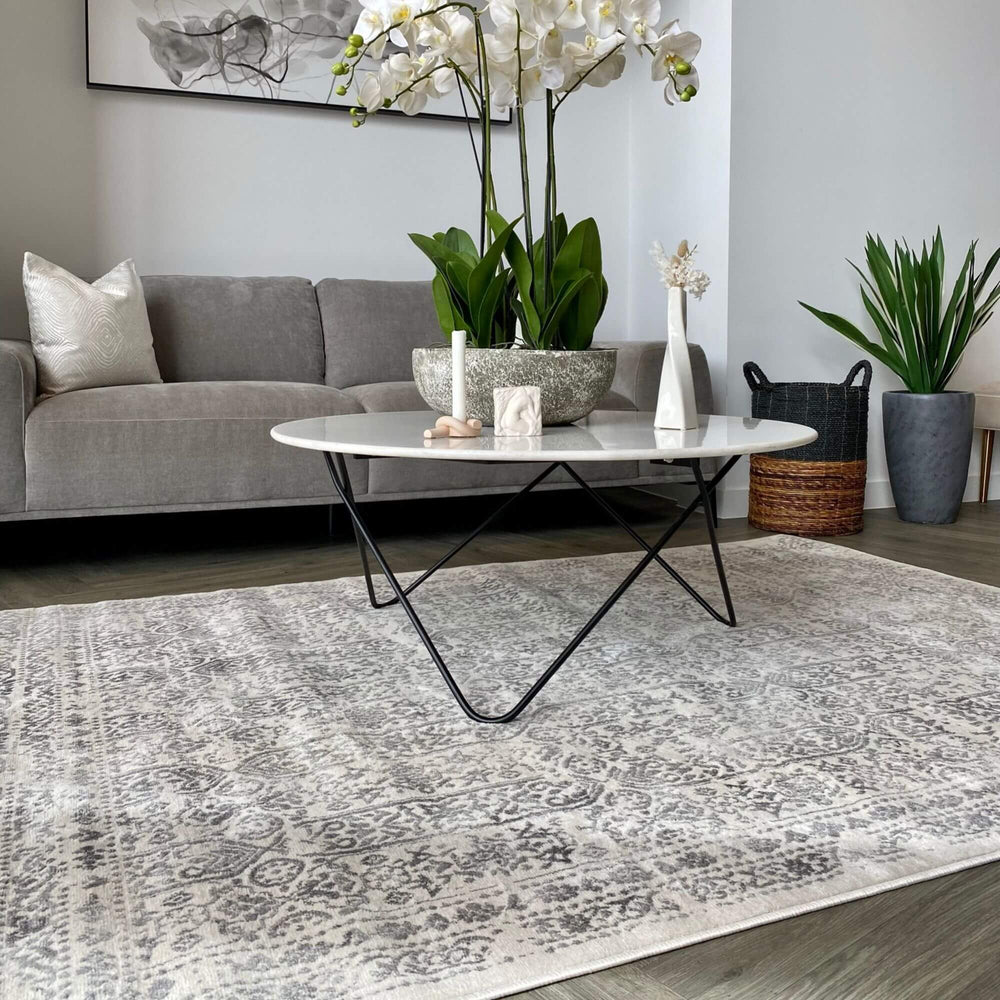
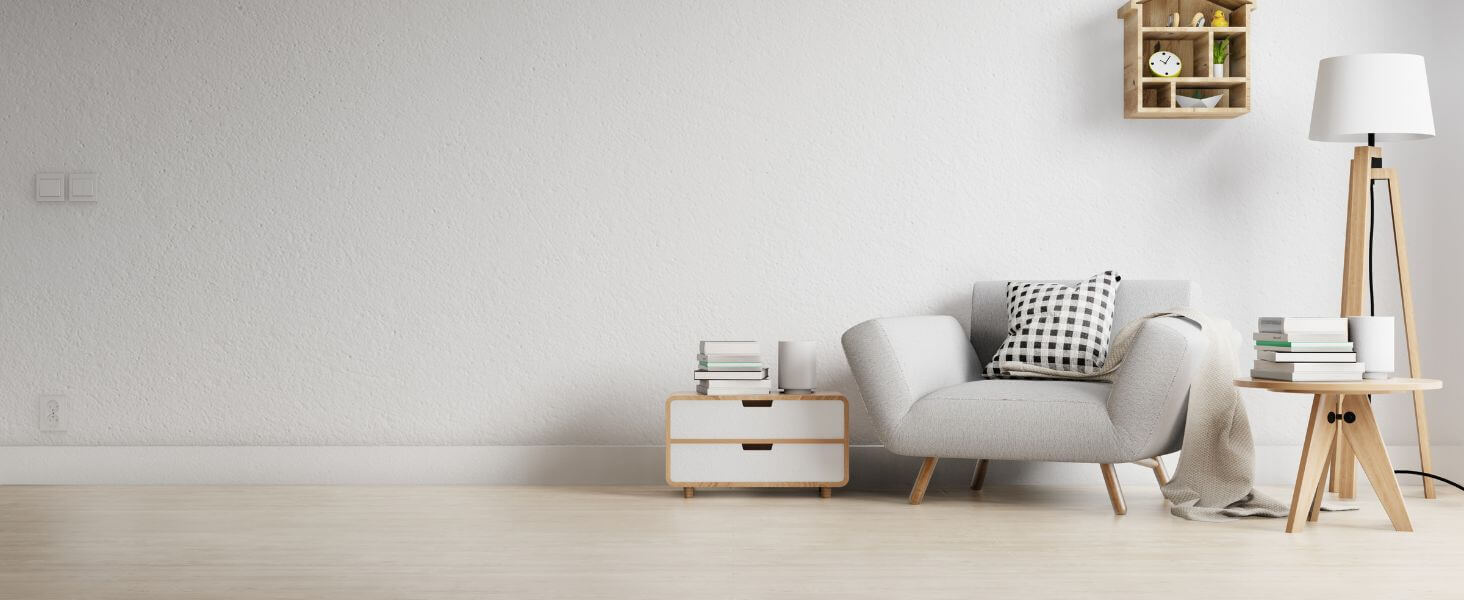
Welcome To The Rugs
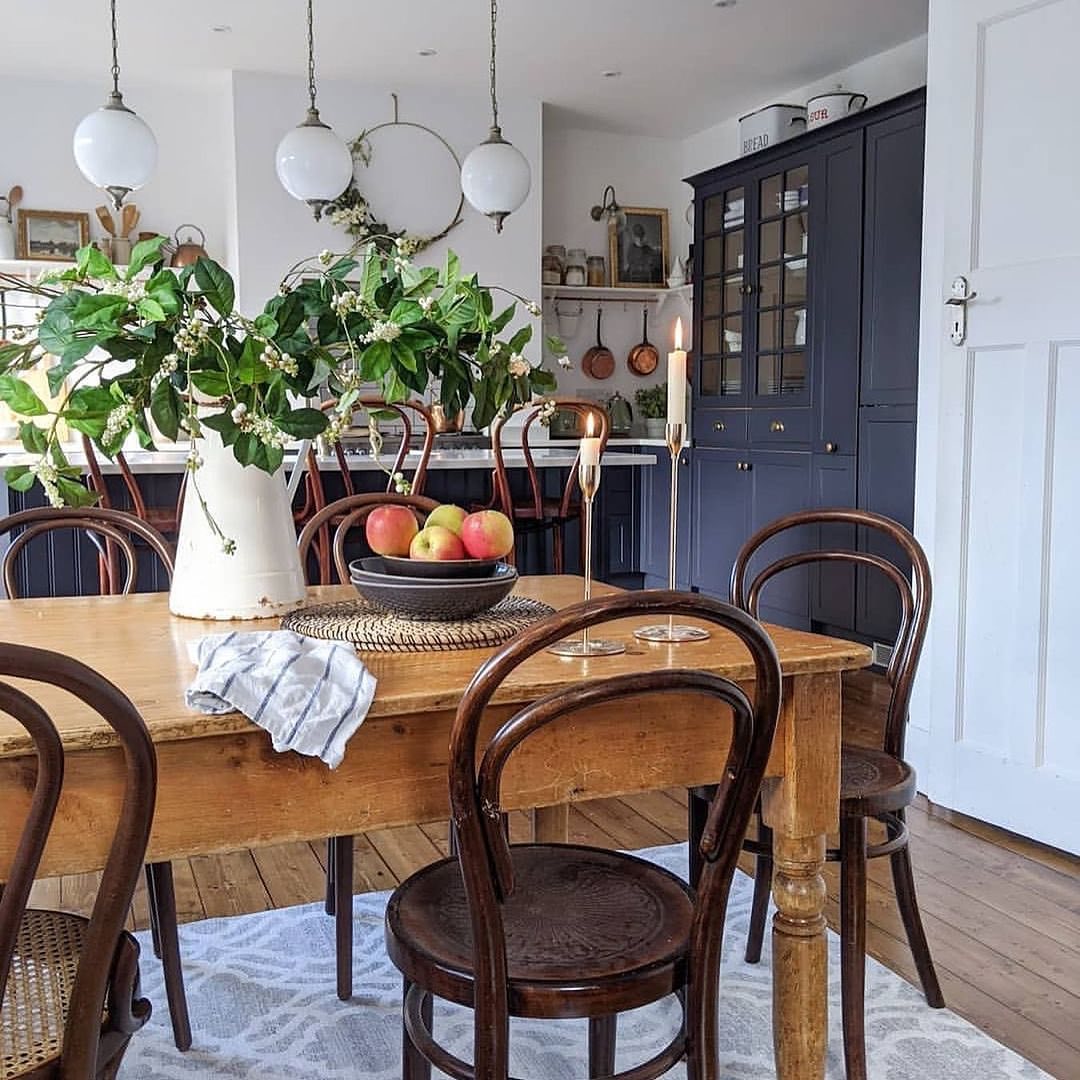
Welcome to our world of exquisite rugs - where craftsmanship meets elegance and comfort embraces style. We take pride in curating a diverse collection of rugs that will transform your living spaces into a harmonious blend of beauty and functionality. Our rugs are more than just floor coverings; they are masterpieces carefully handcrafted by skilled artisans. Each design narrates a unique story, capturing the essence of culture, tradition, and contemporary art. From intricate patterns to bold geometrics, our rugs epitomize artistry at its finest.
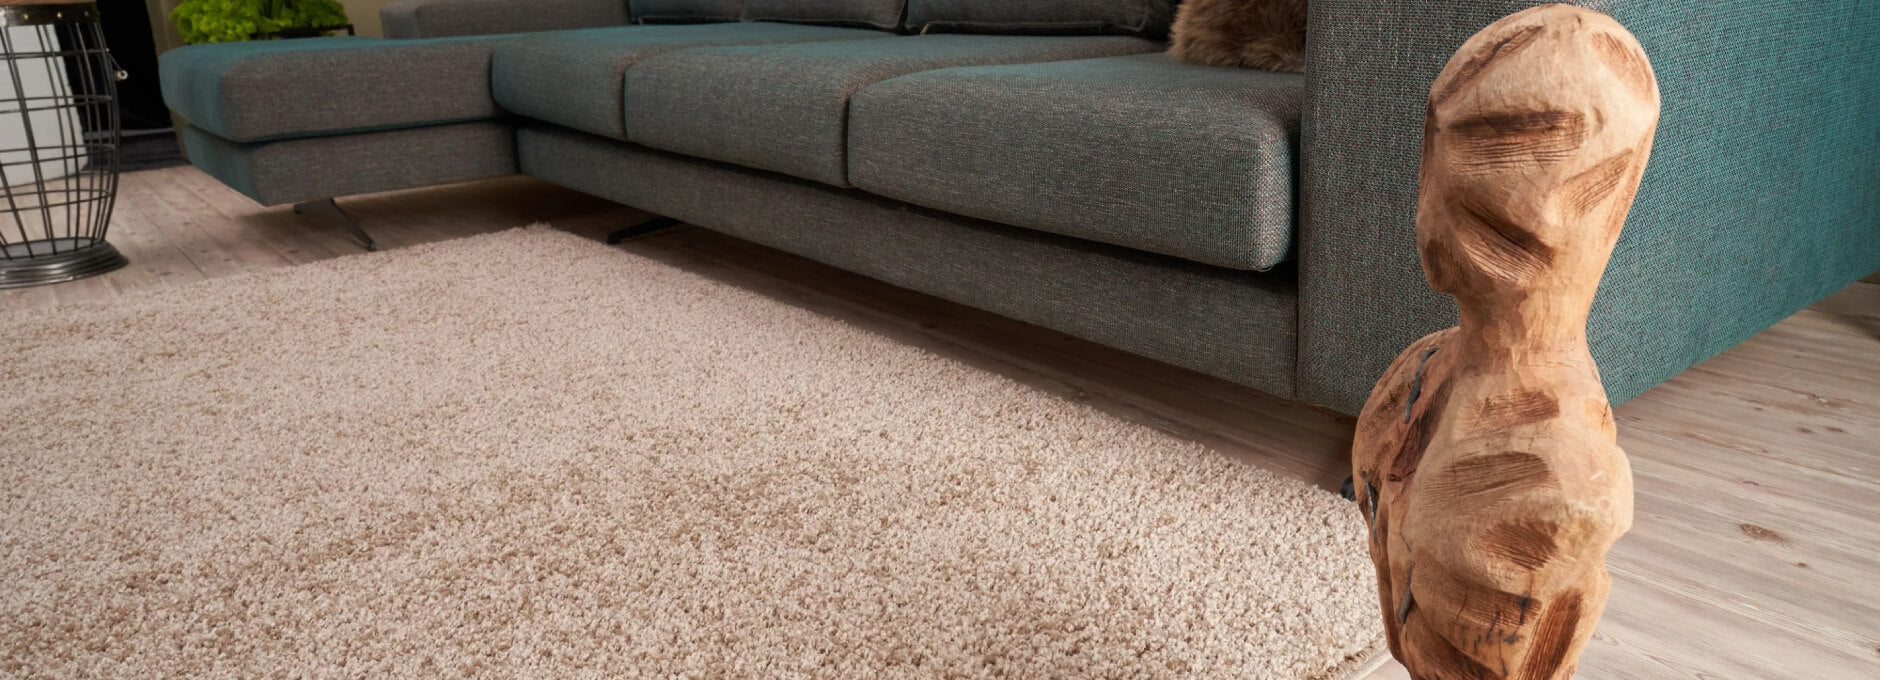
What You Should Know Before Buying a Rug
Before embarking on your rug journey, consider key factors to make an informed choice for your space. Delve into considerations such as room and purpose, size, material selection, style and design, pile height, cleaning and maintenance, durability, rug pad necessity, and colour and pattern harmony. These considerations will guide you in selecting the perfect rug from THE RUGS, ensuring not only aesthetic beauty but also a seamless integration into your lifestyle.
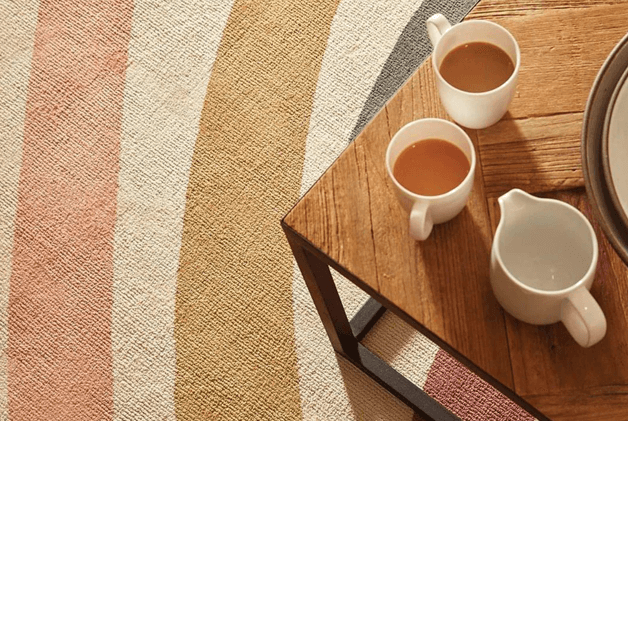
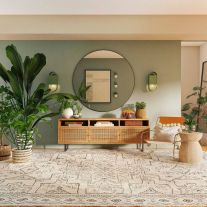
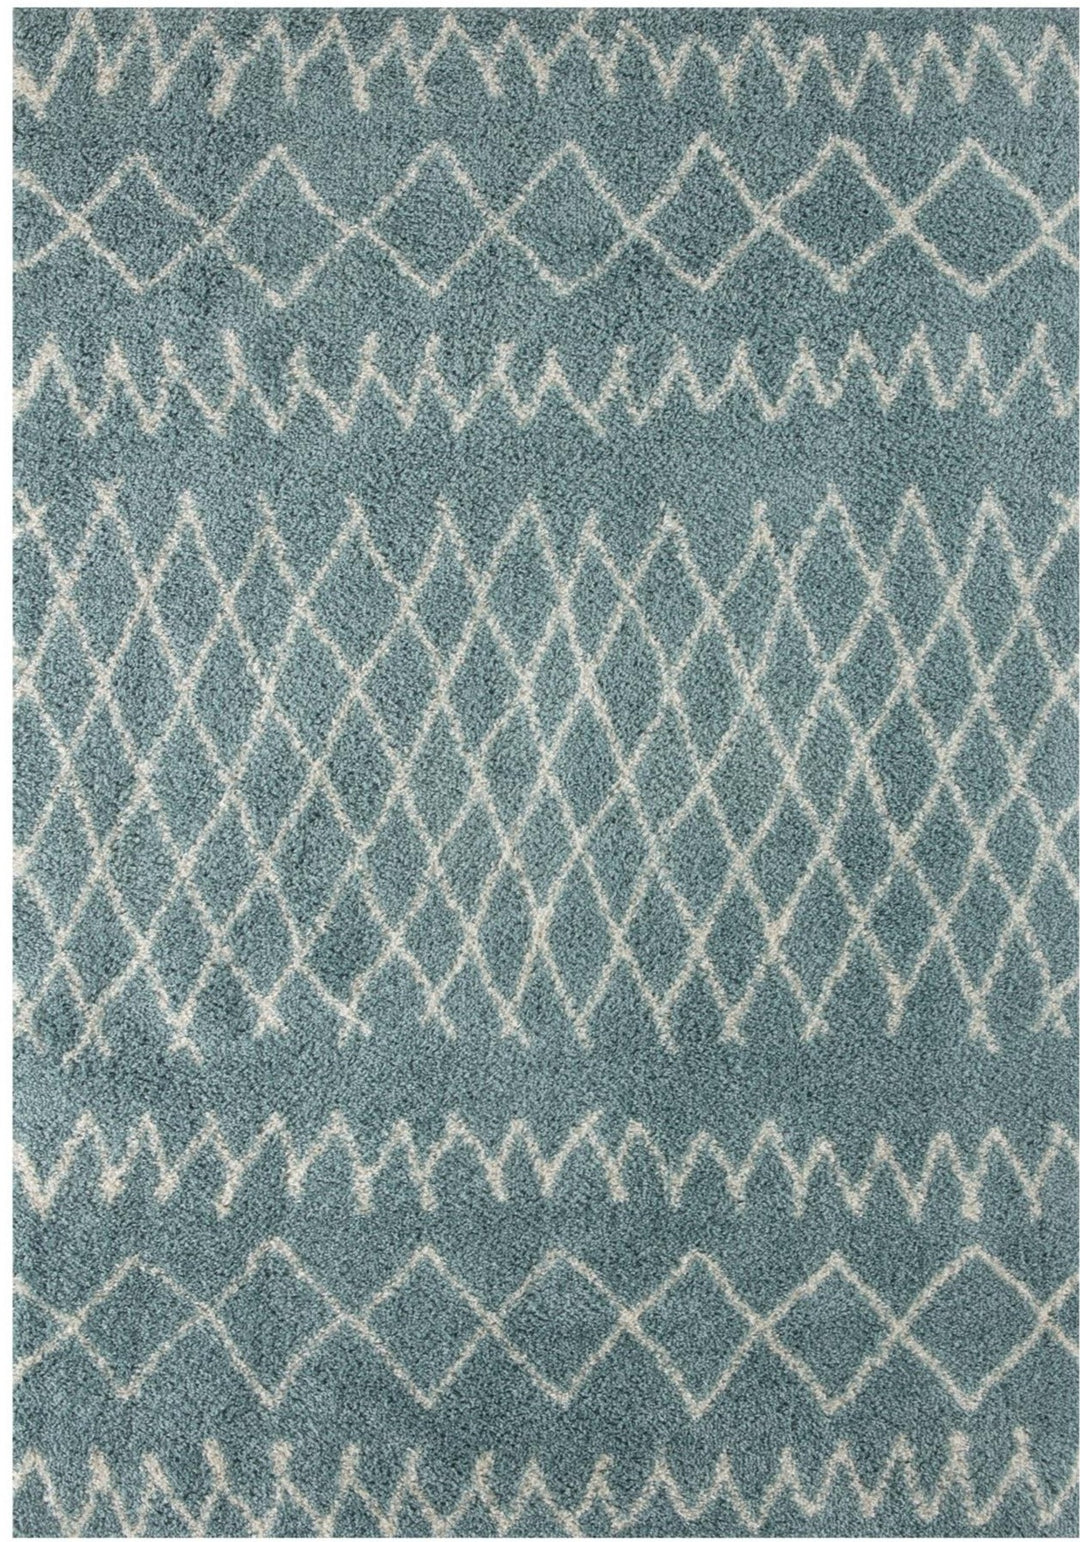
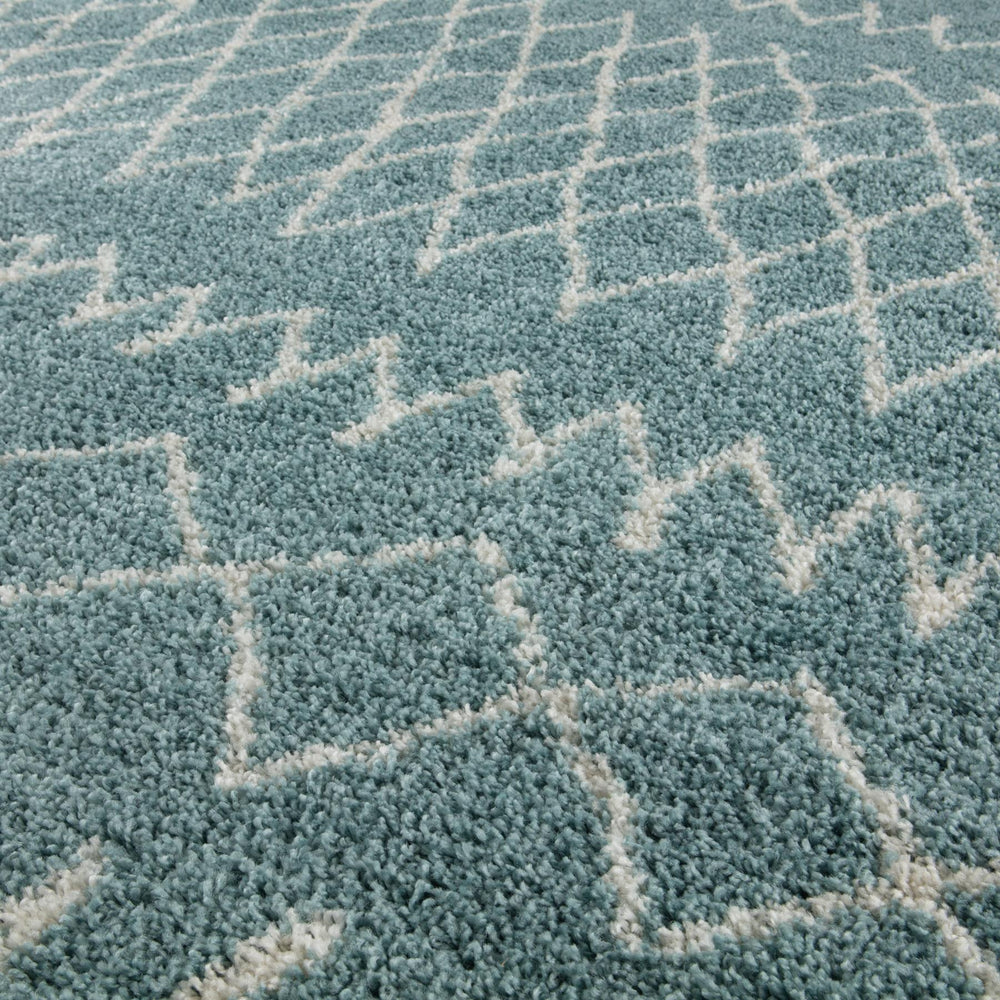
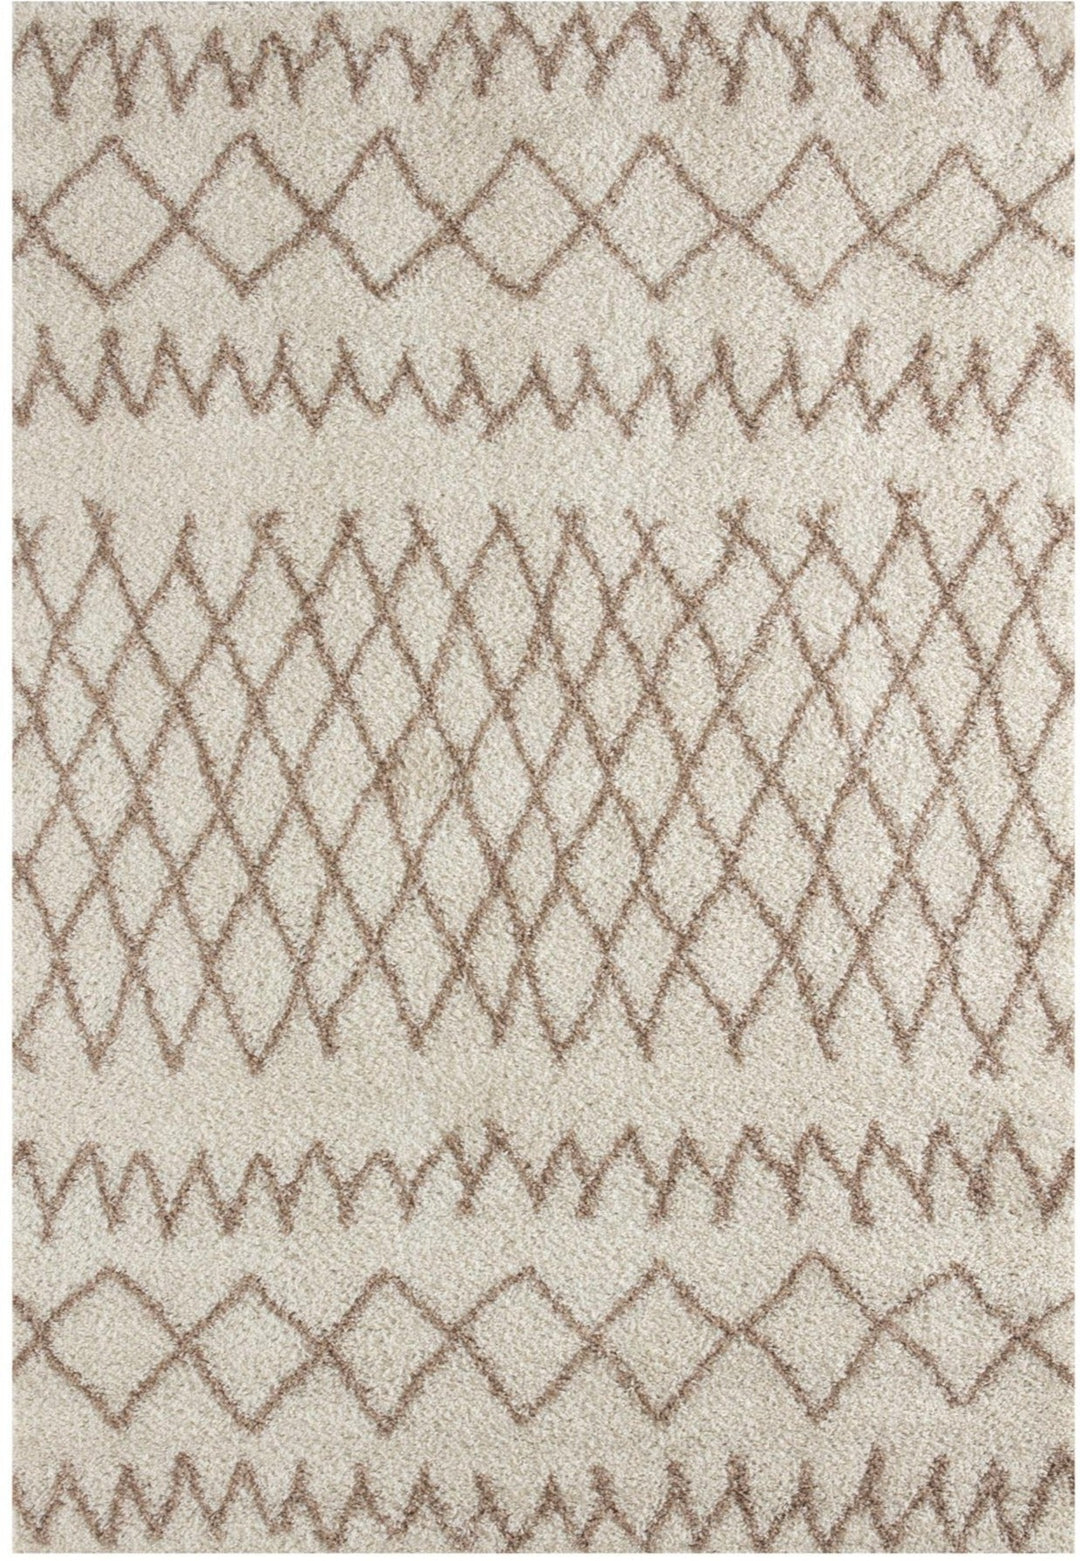
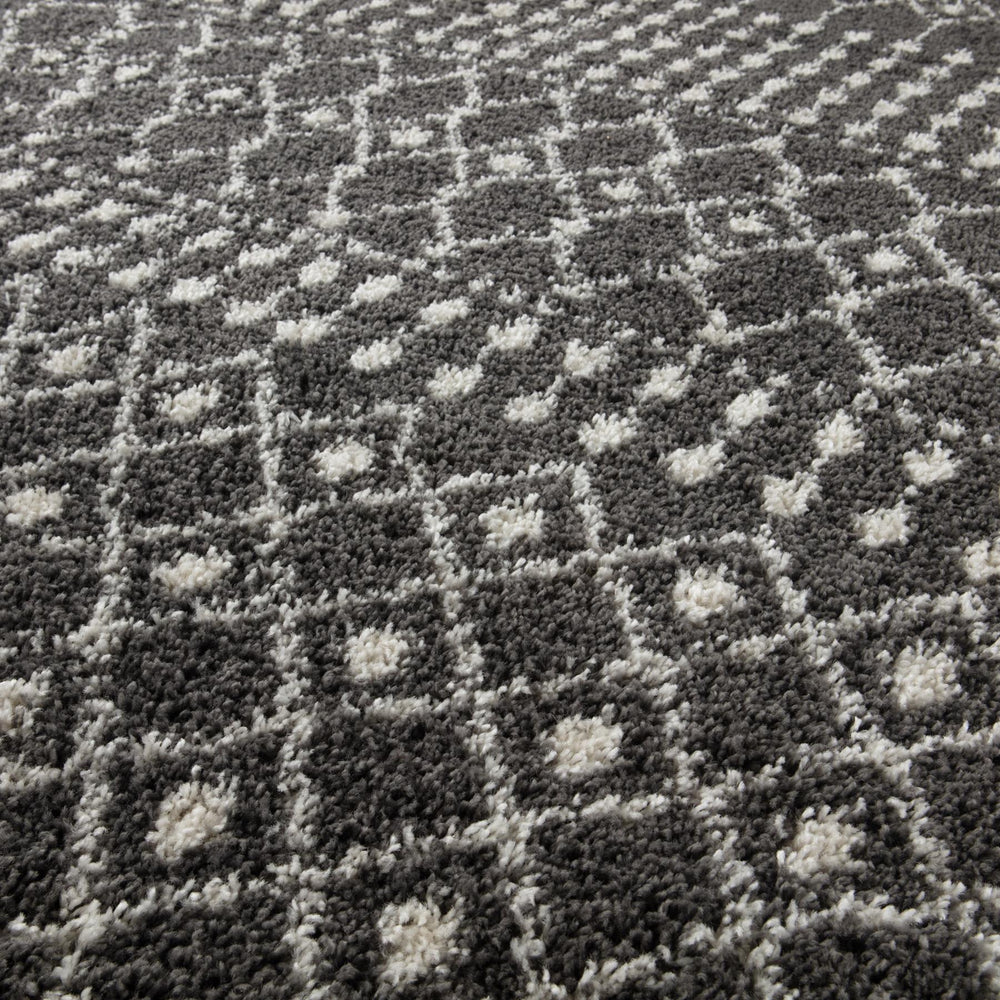
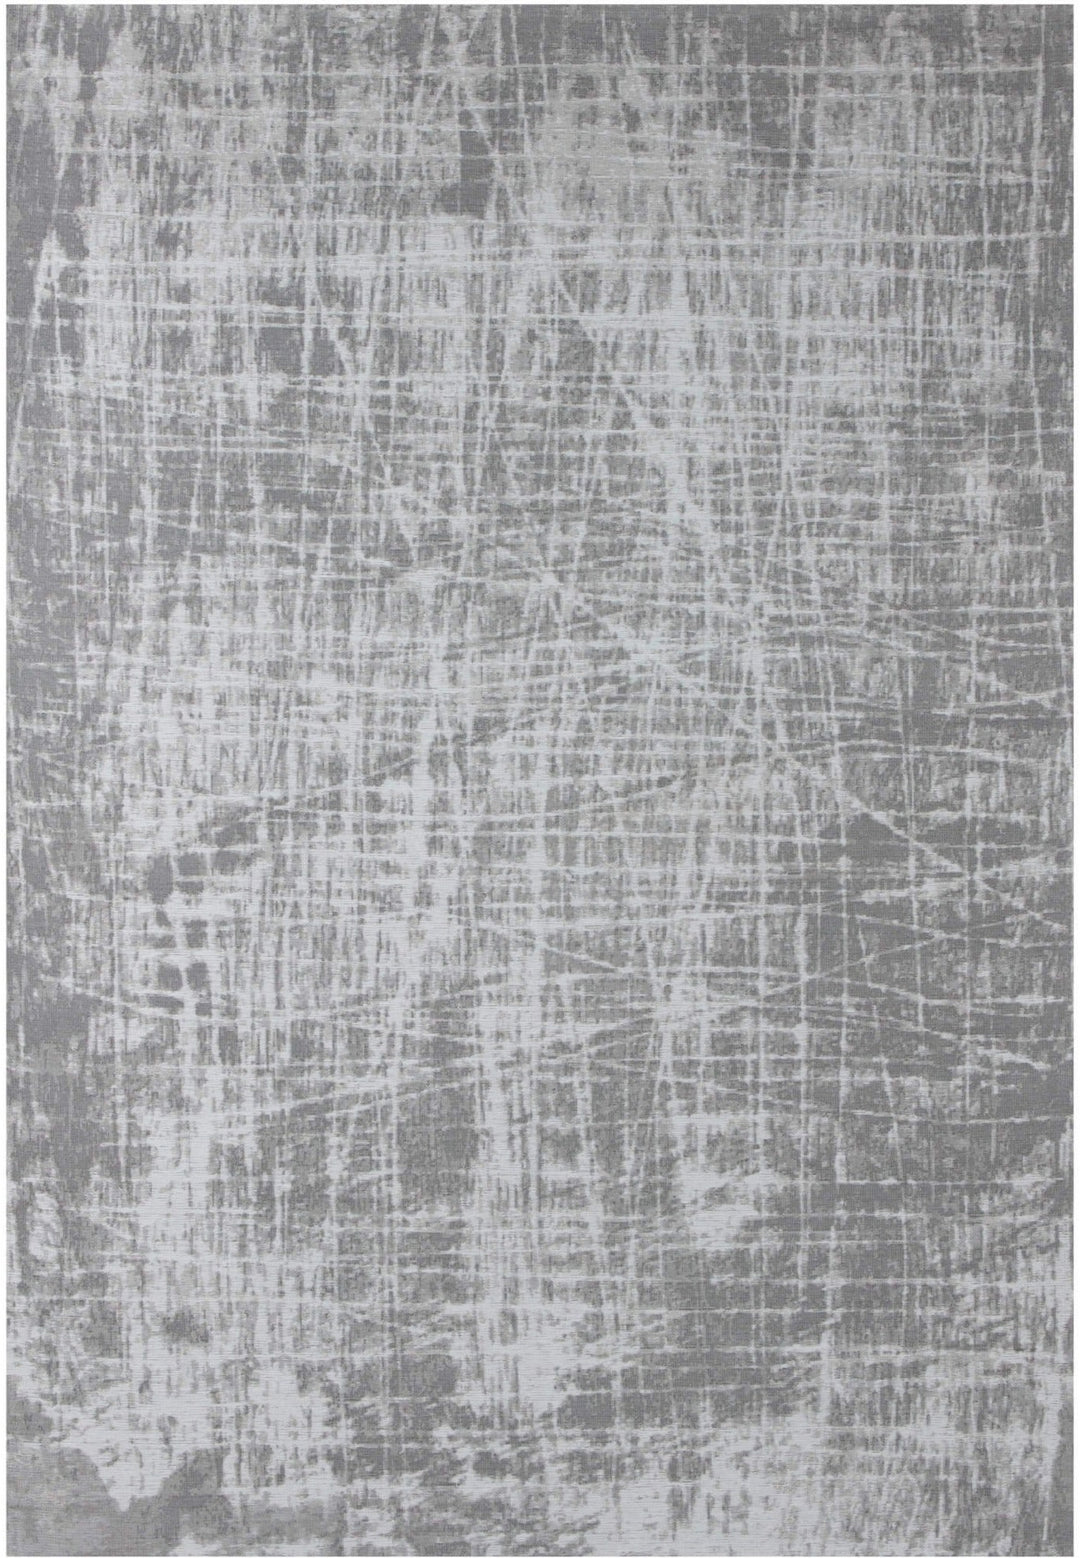
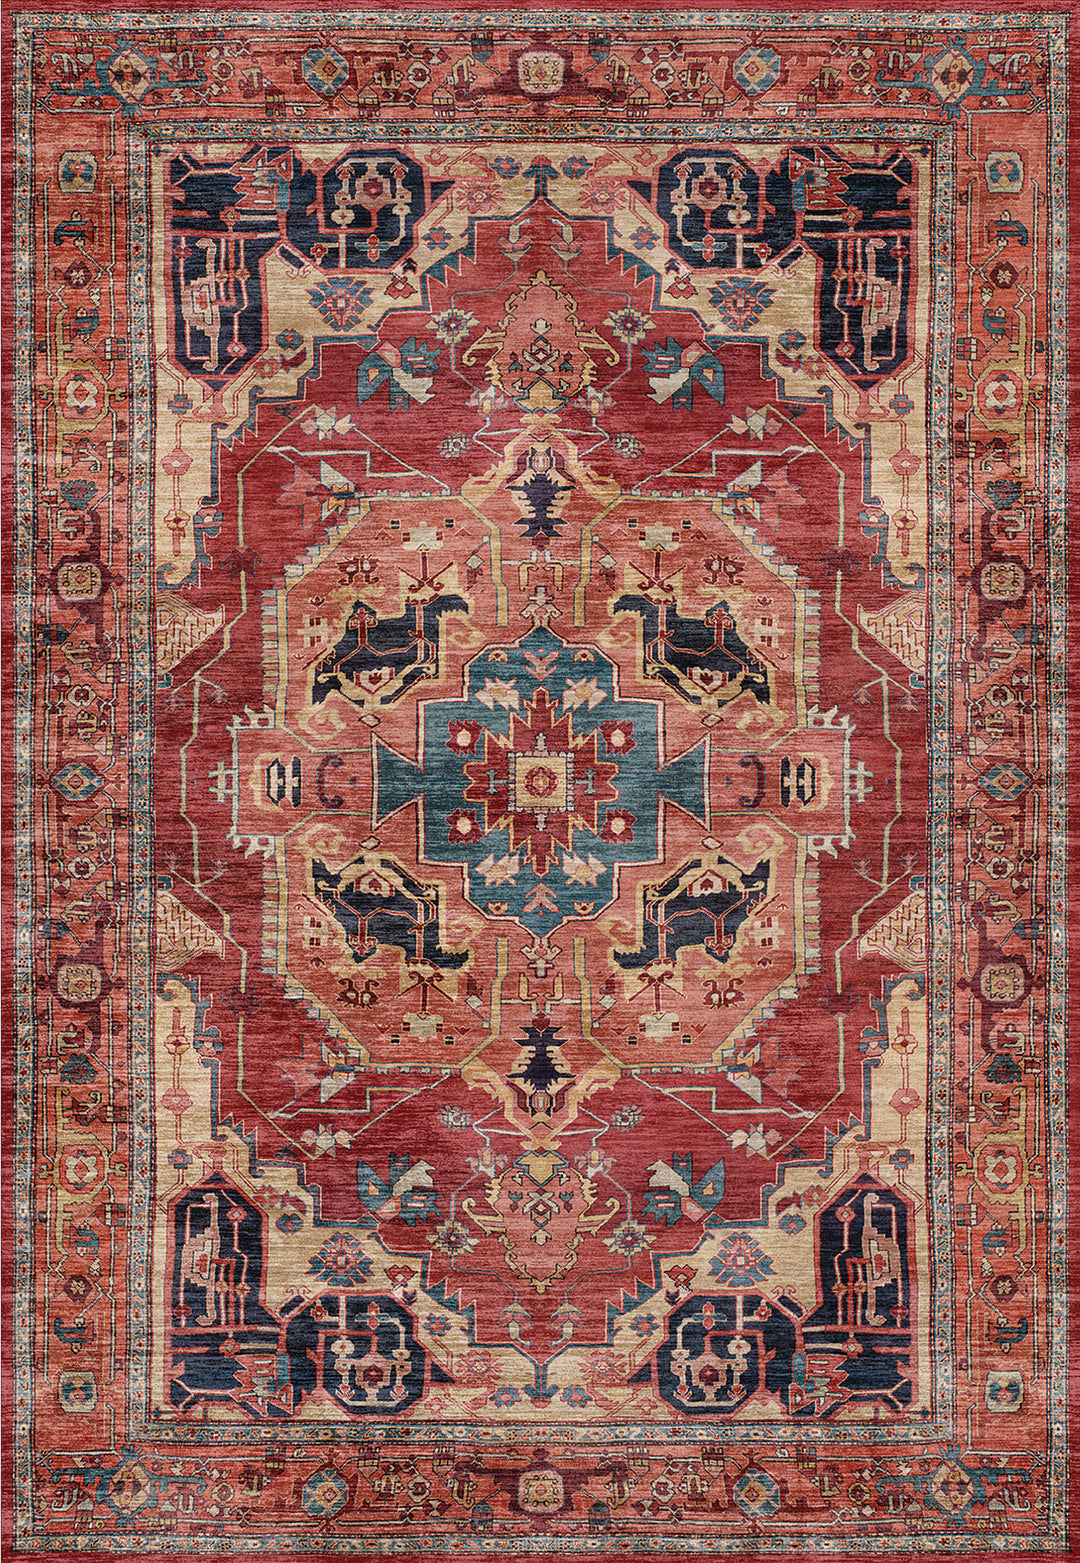
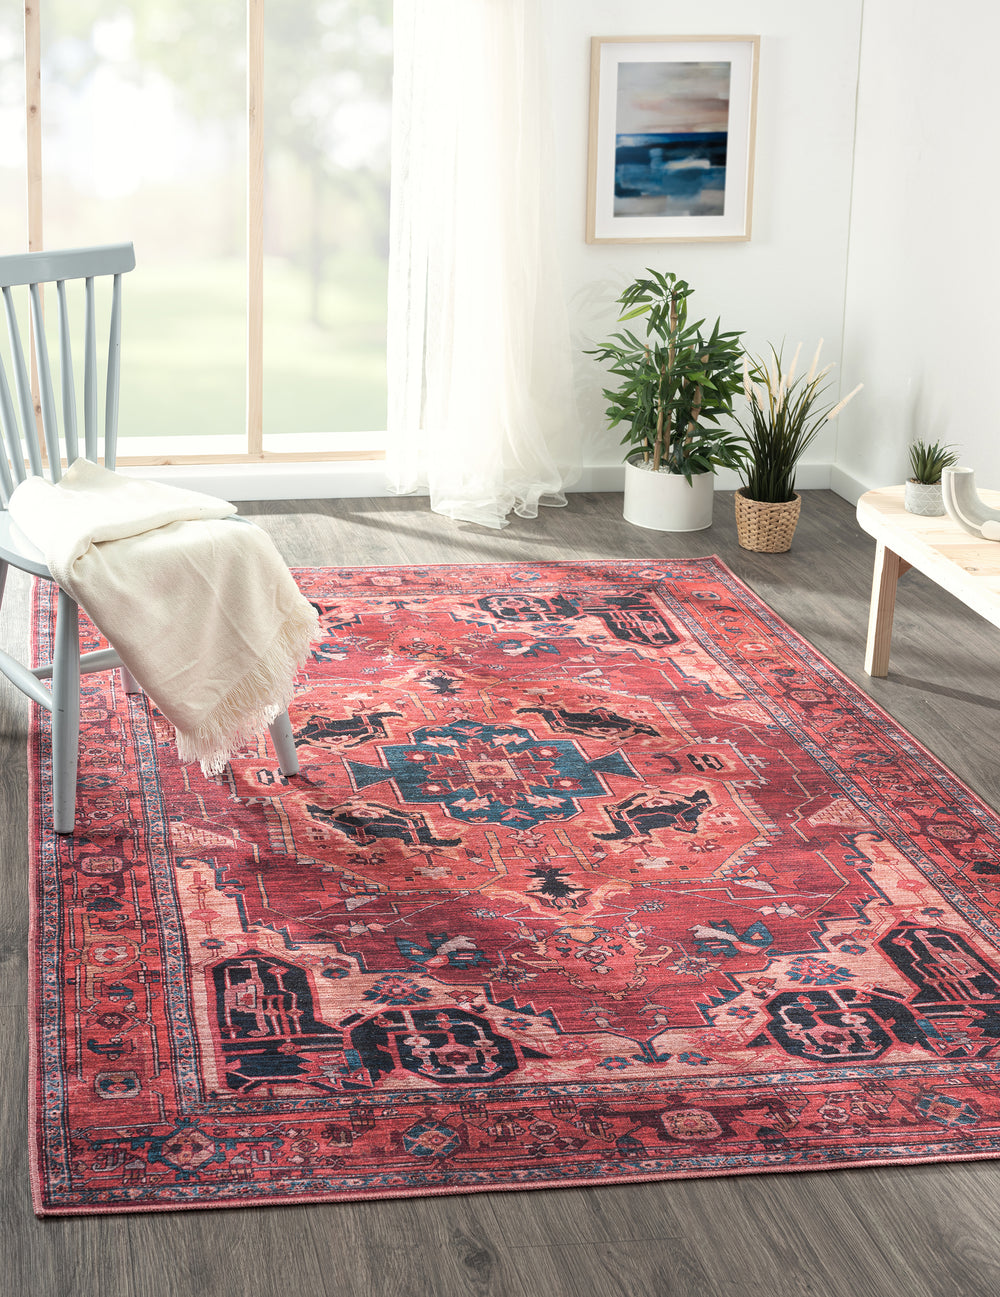
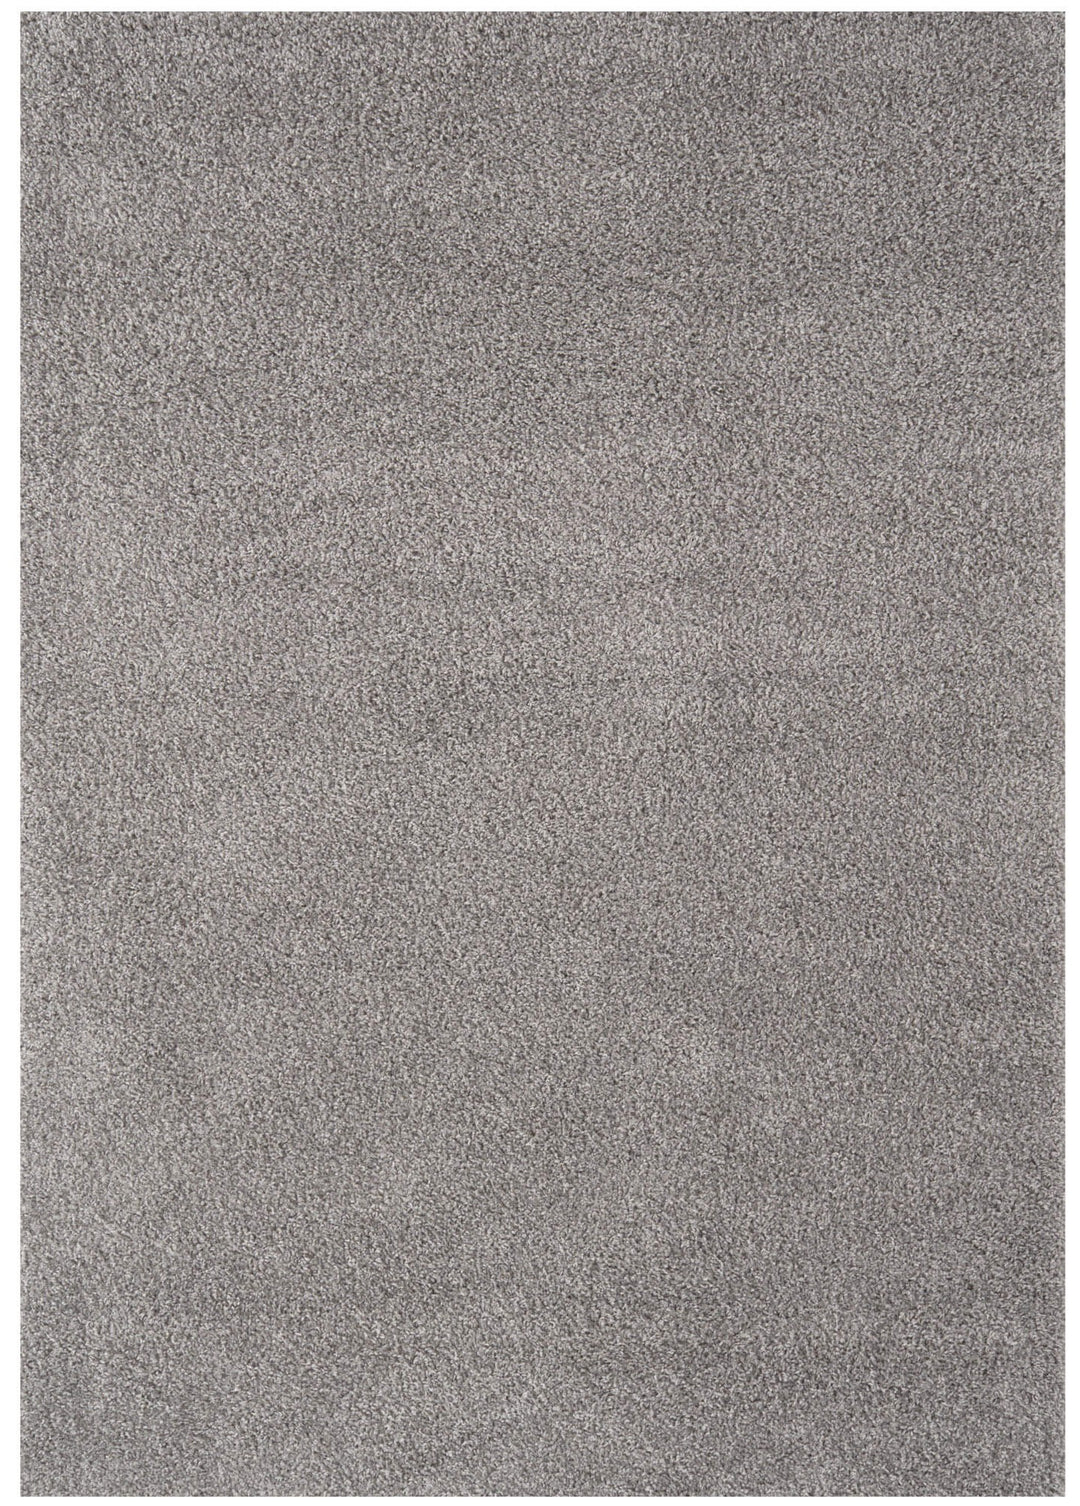
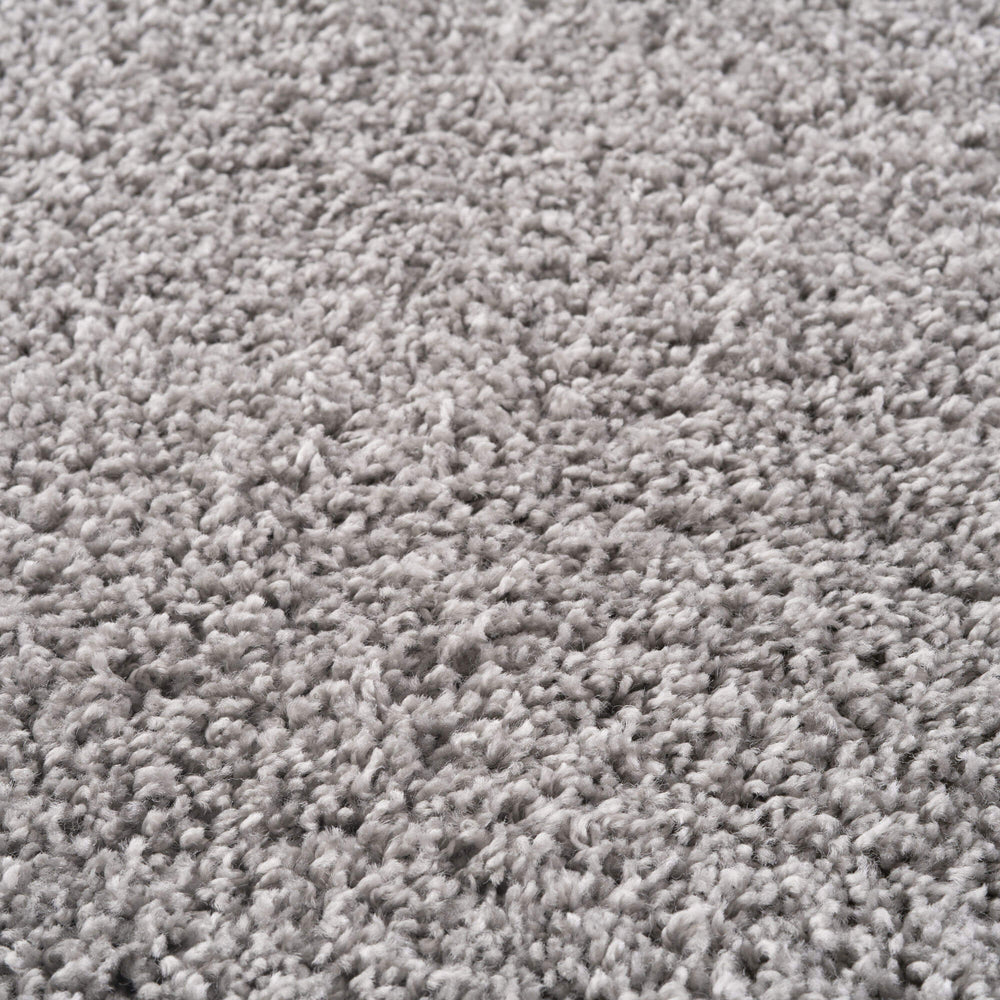
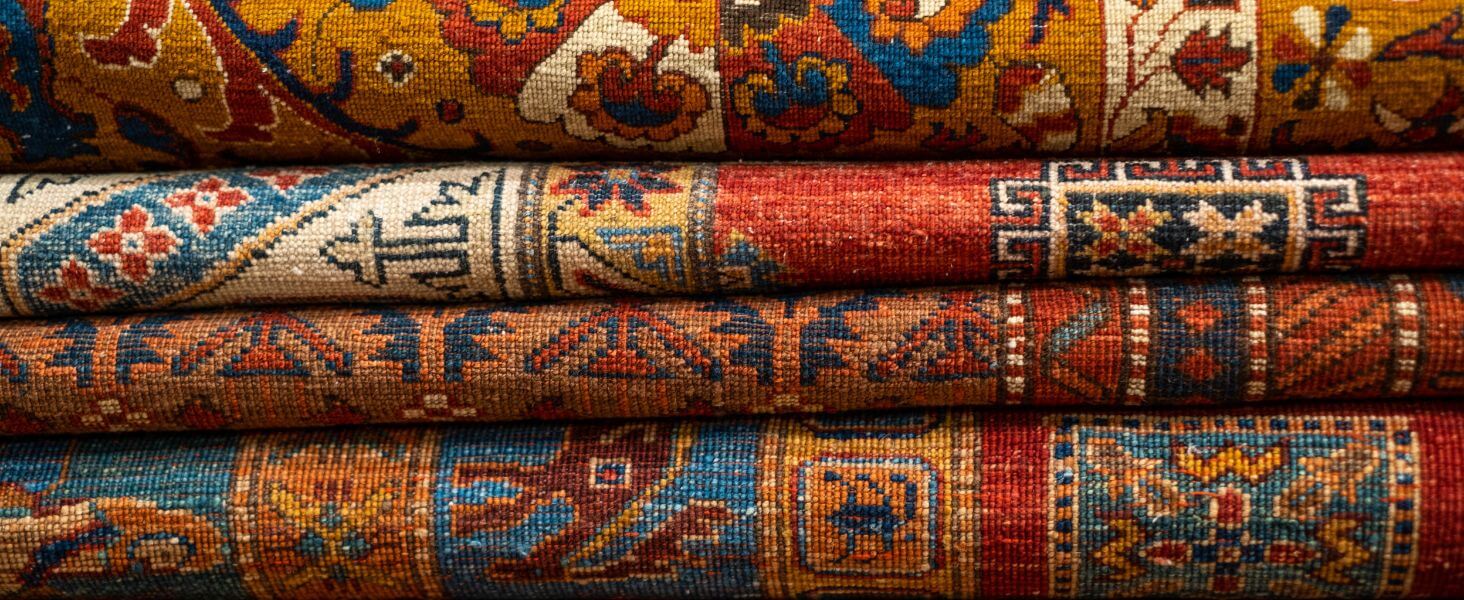
Popular Styles of Rugs
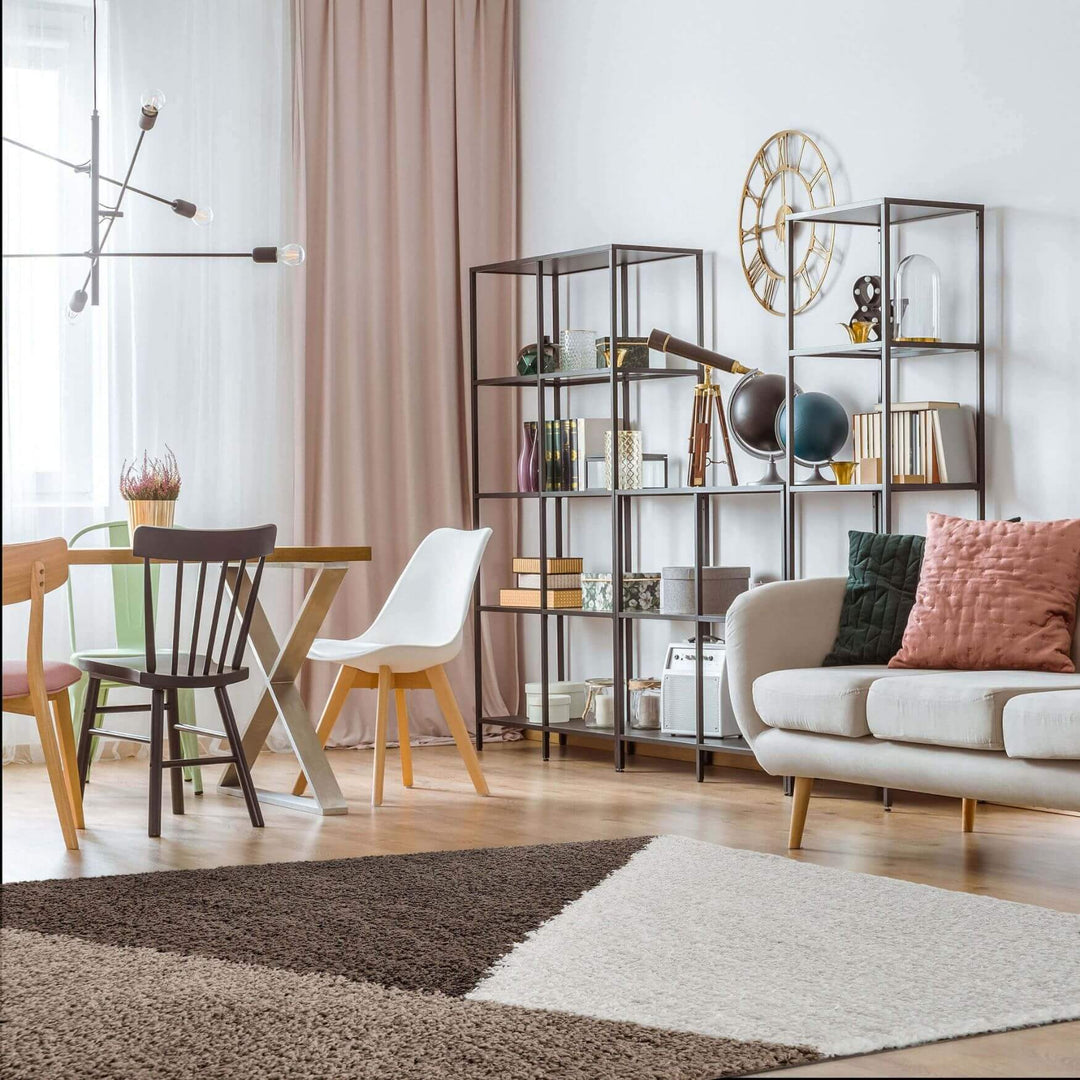
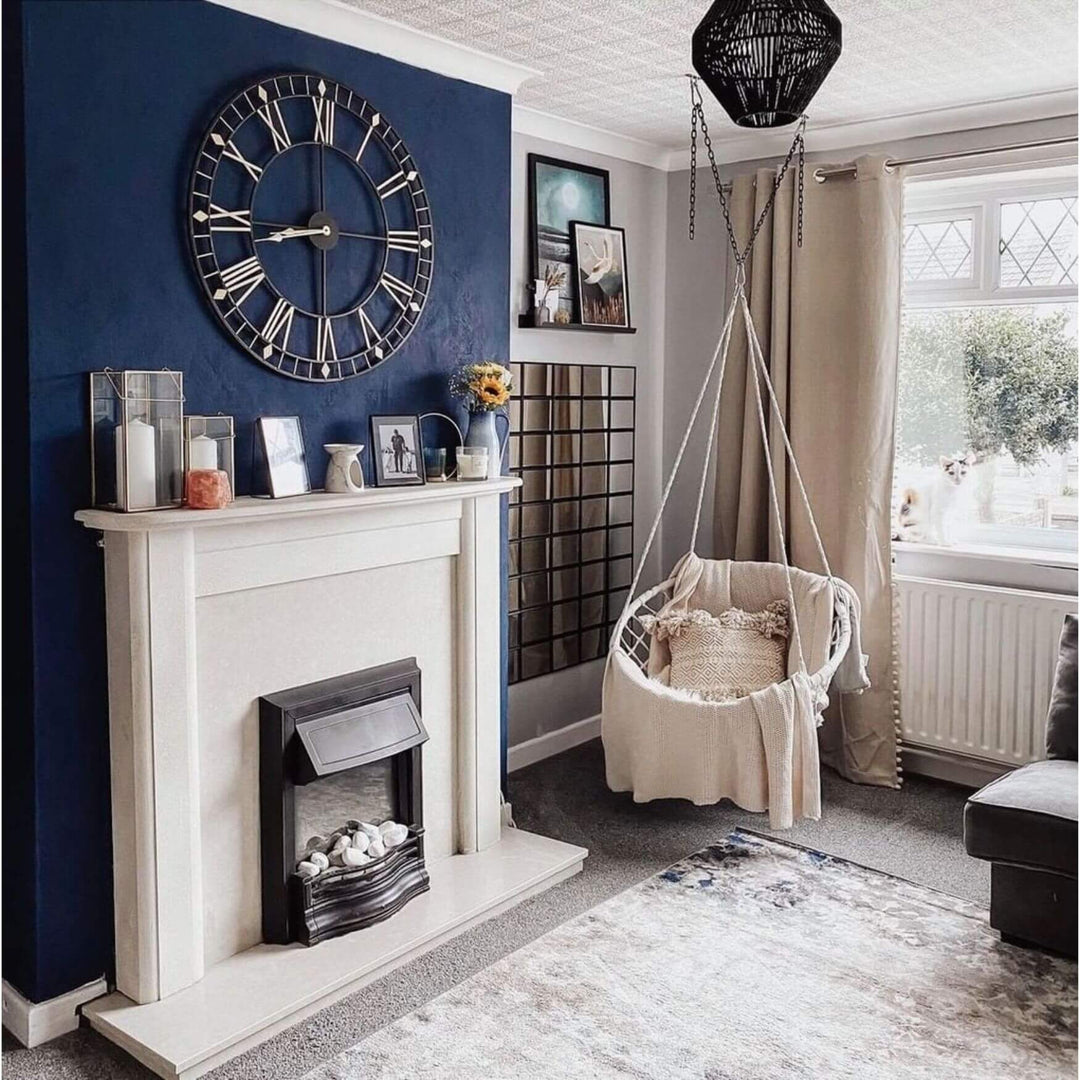
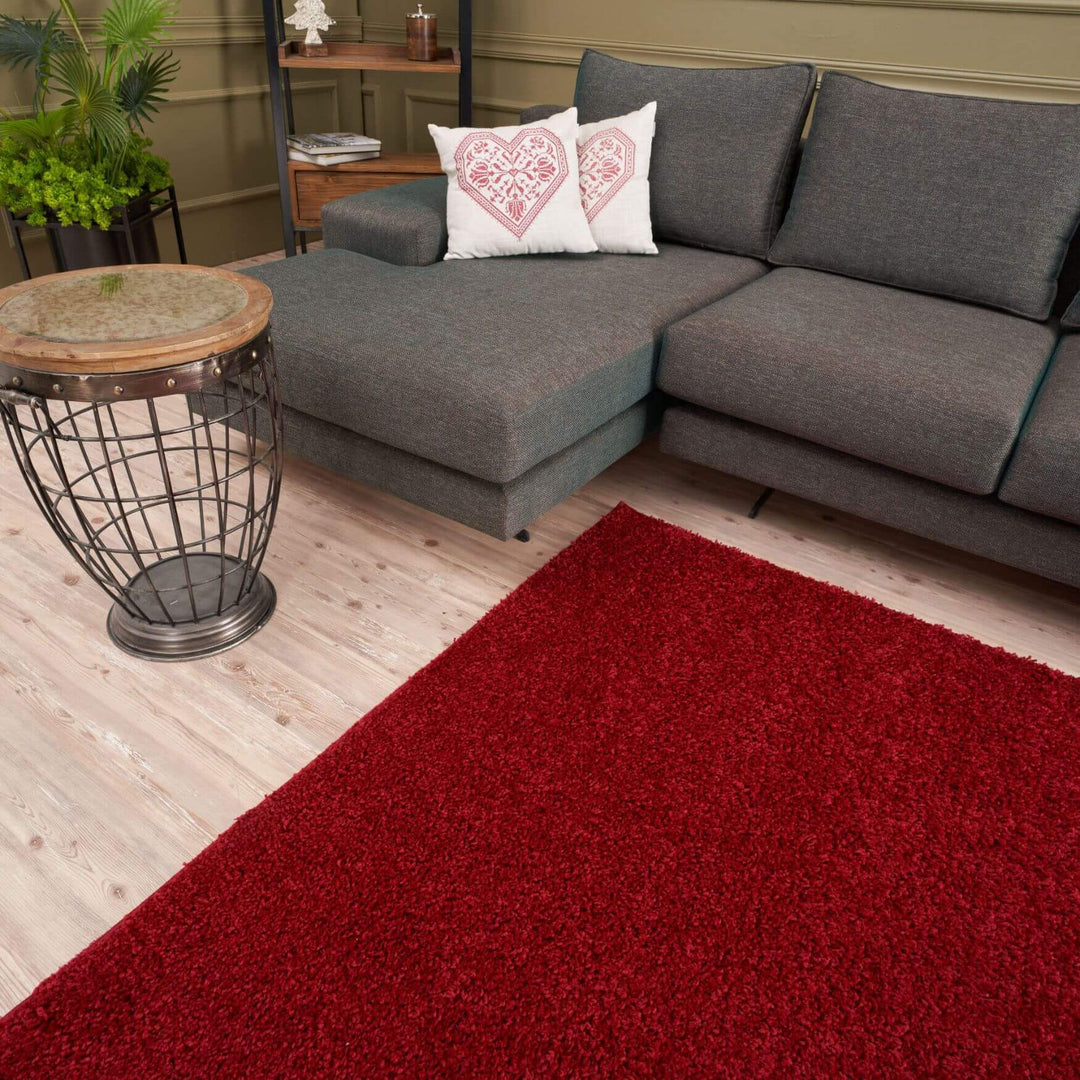
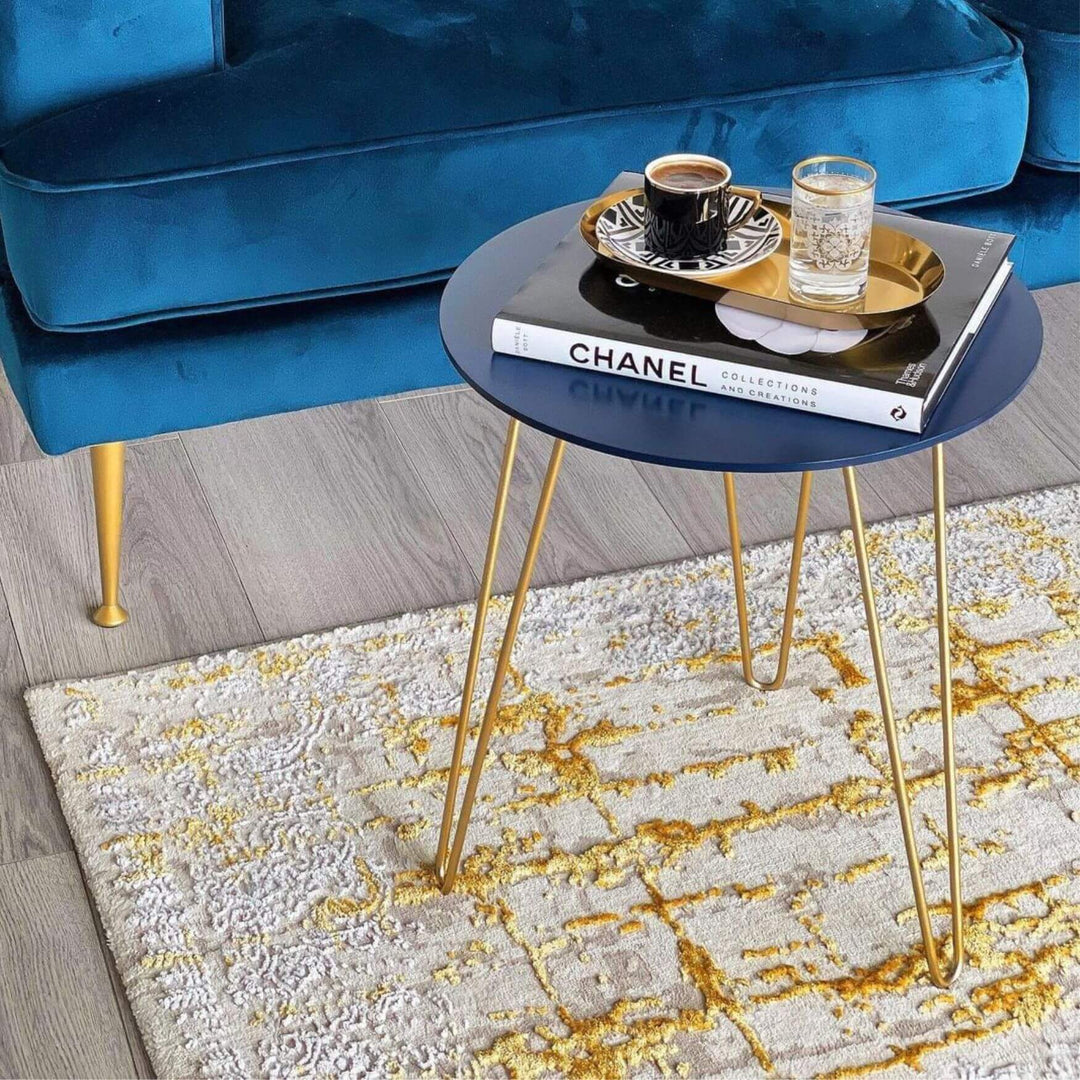
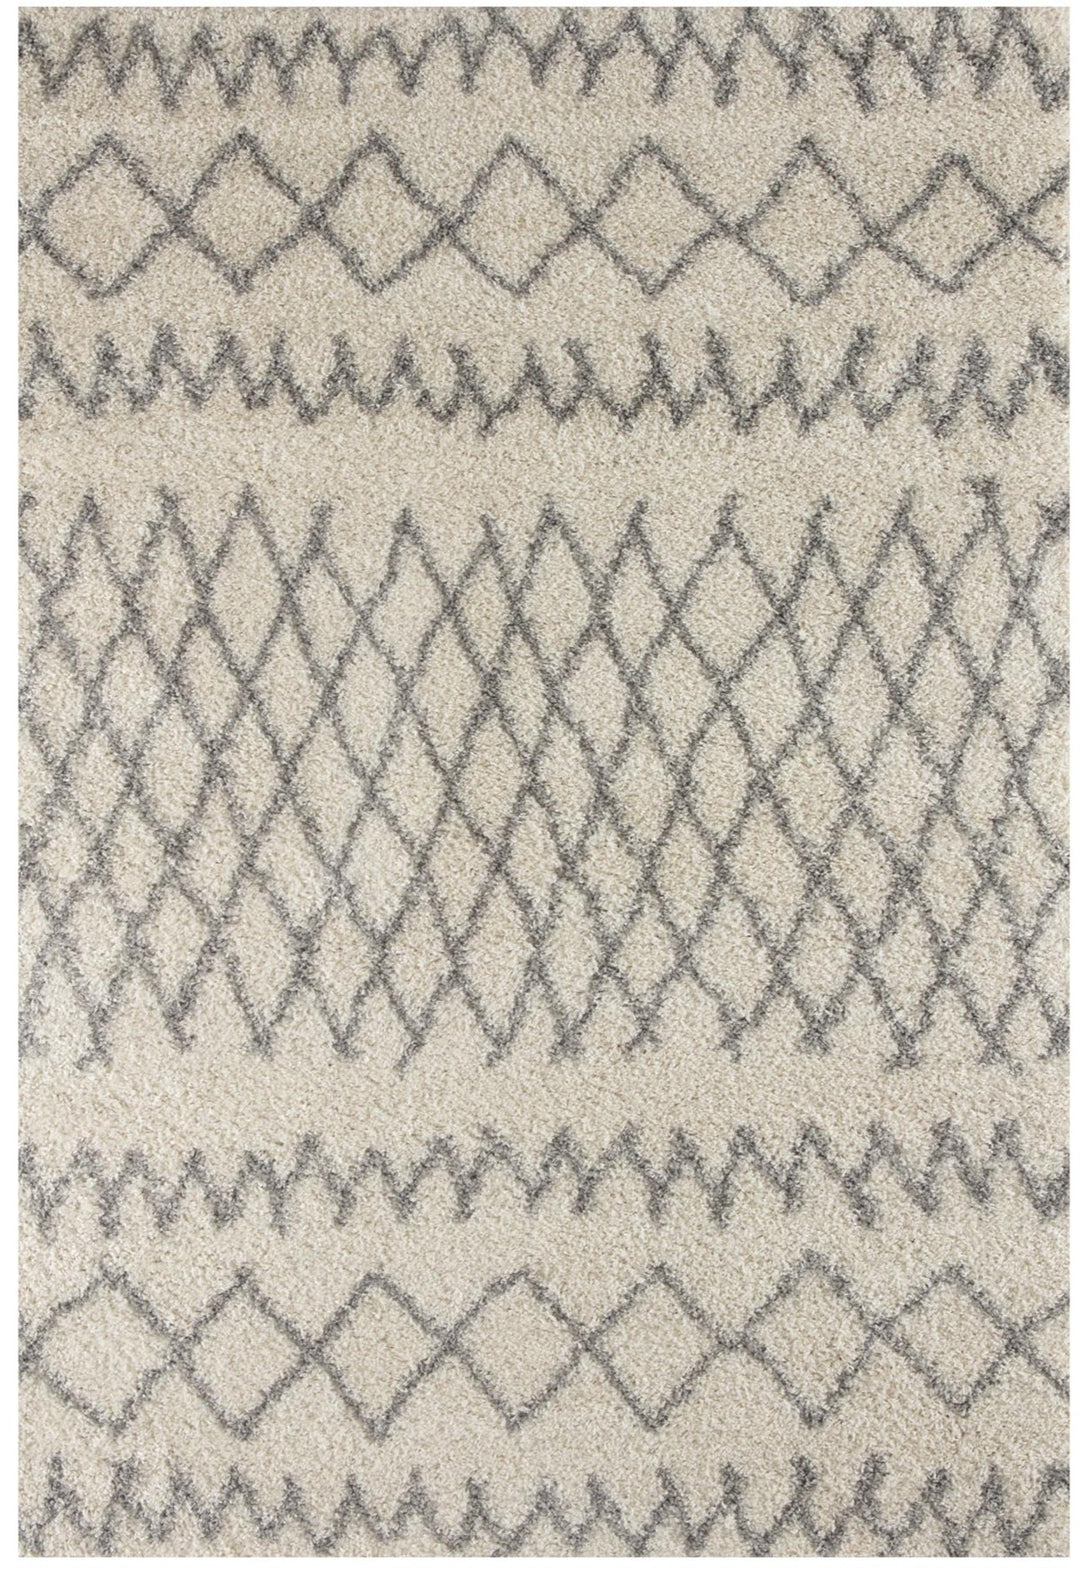
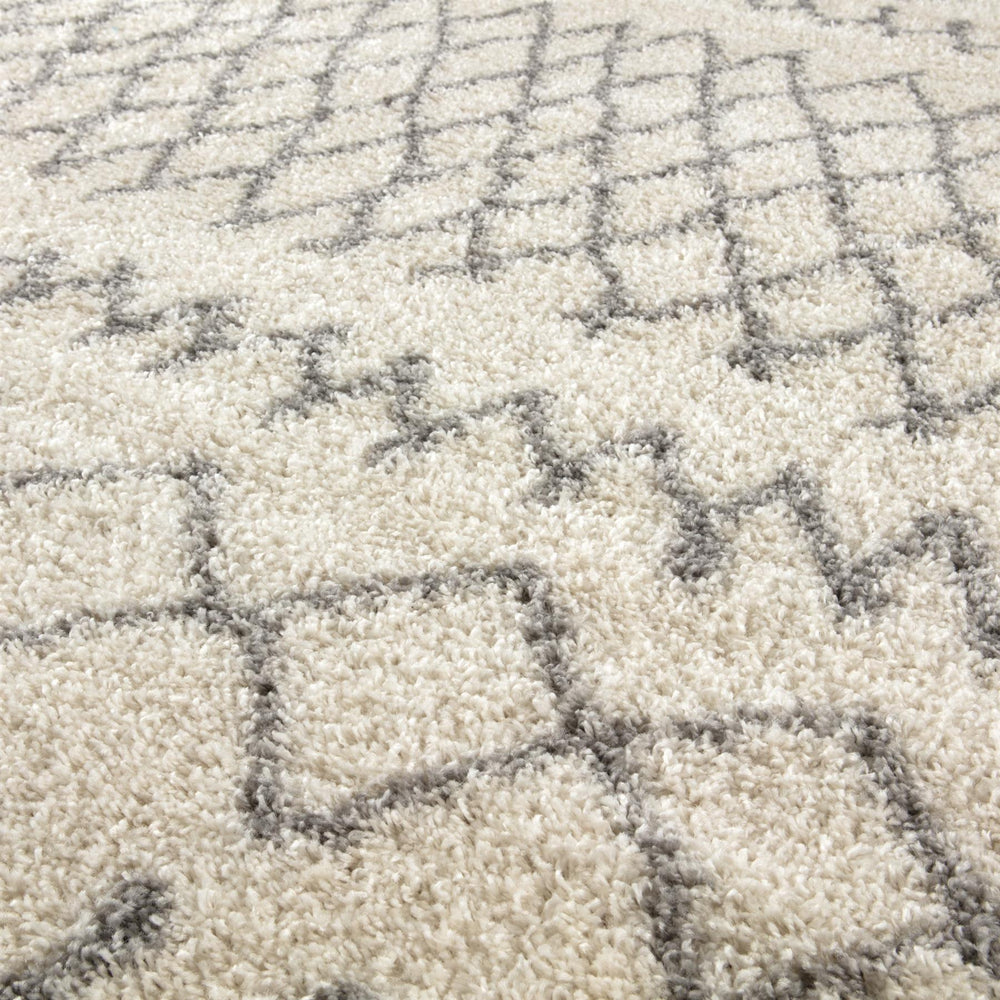
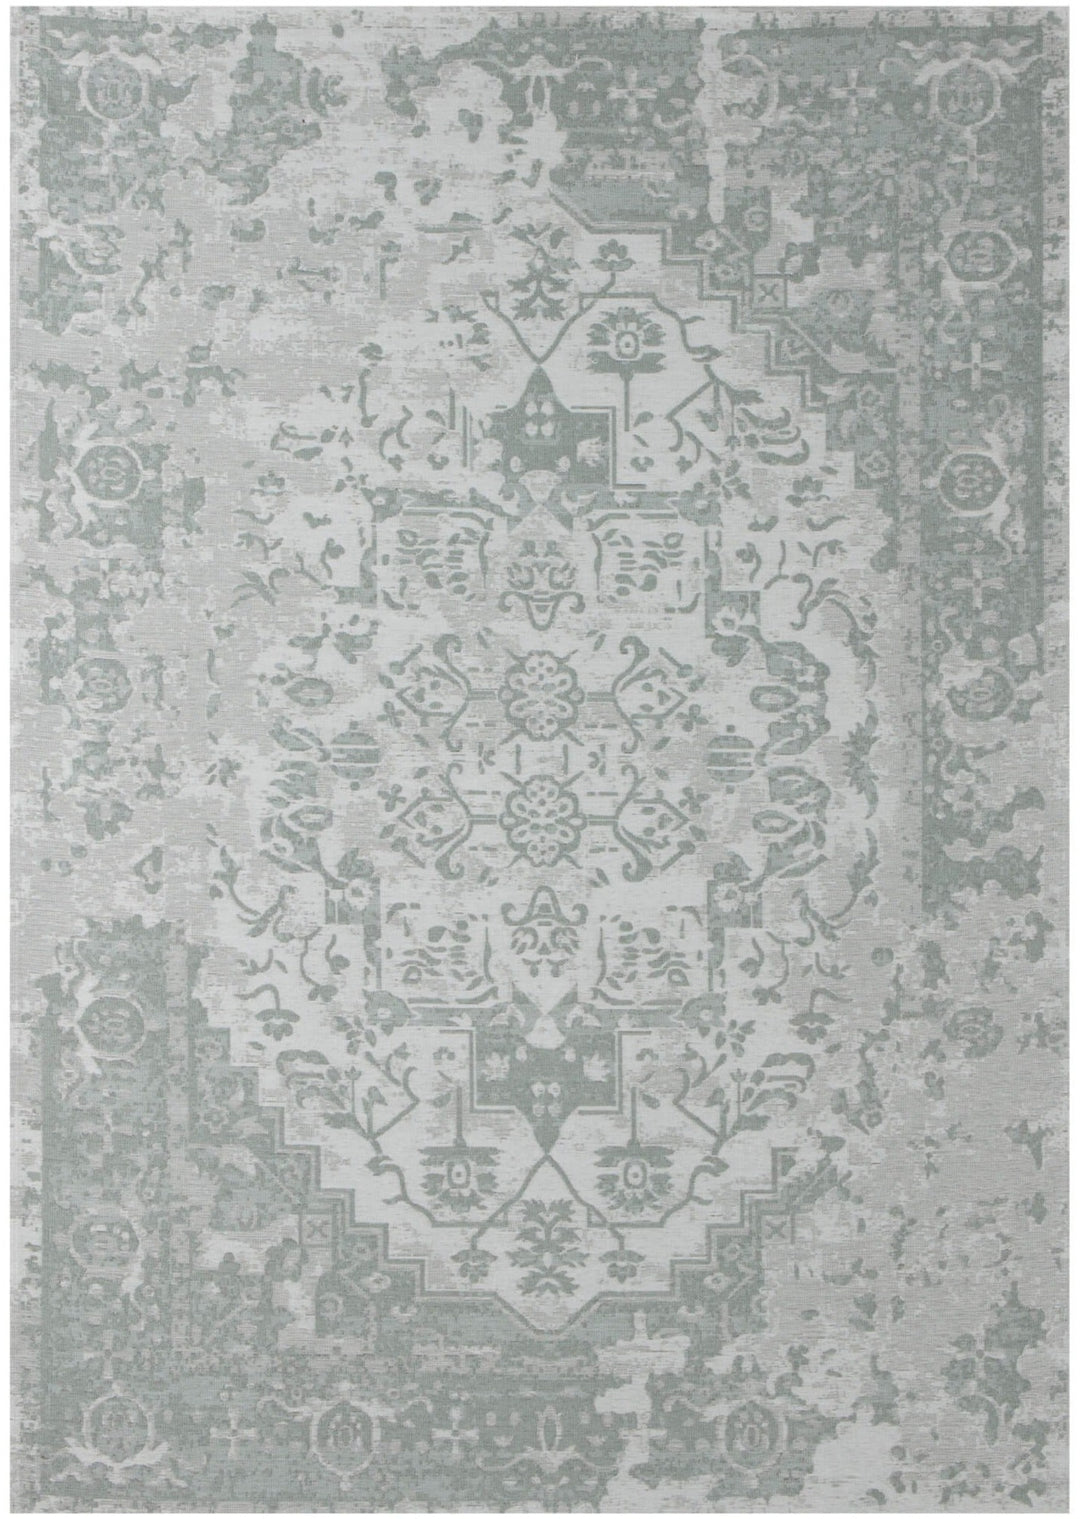
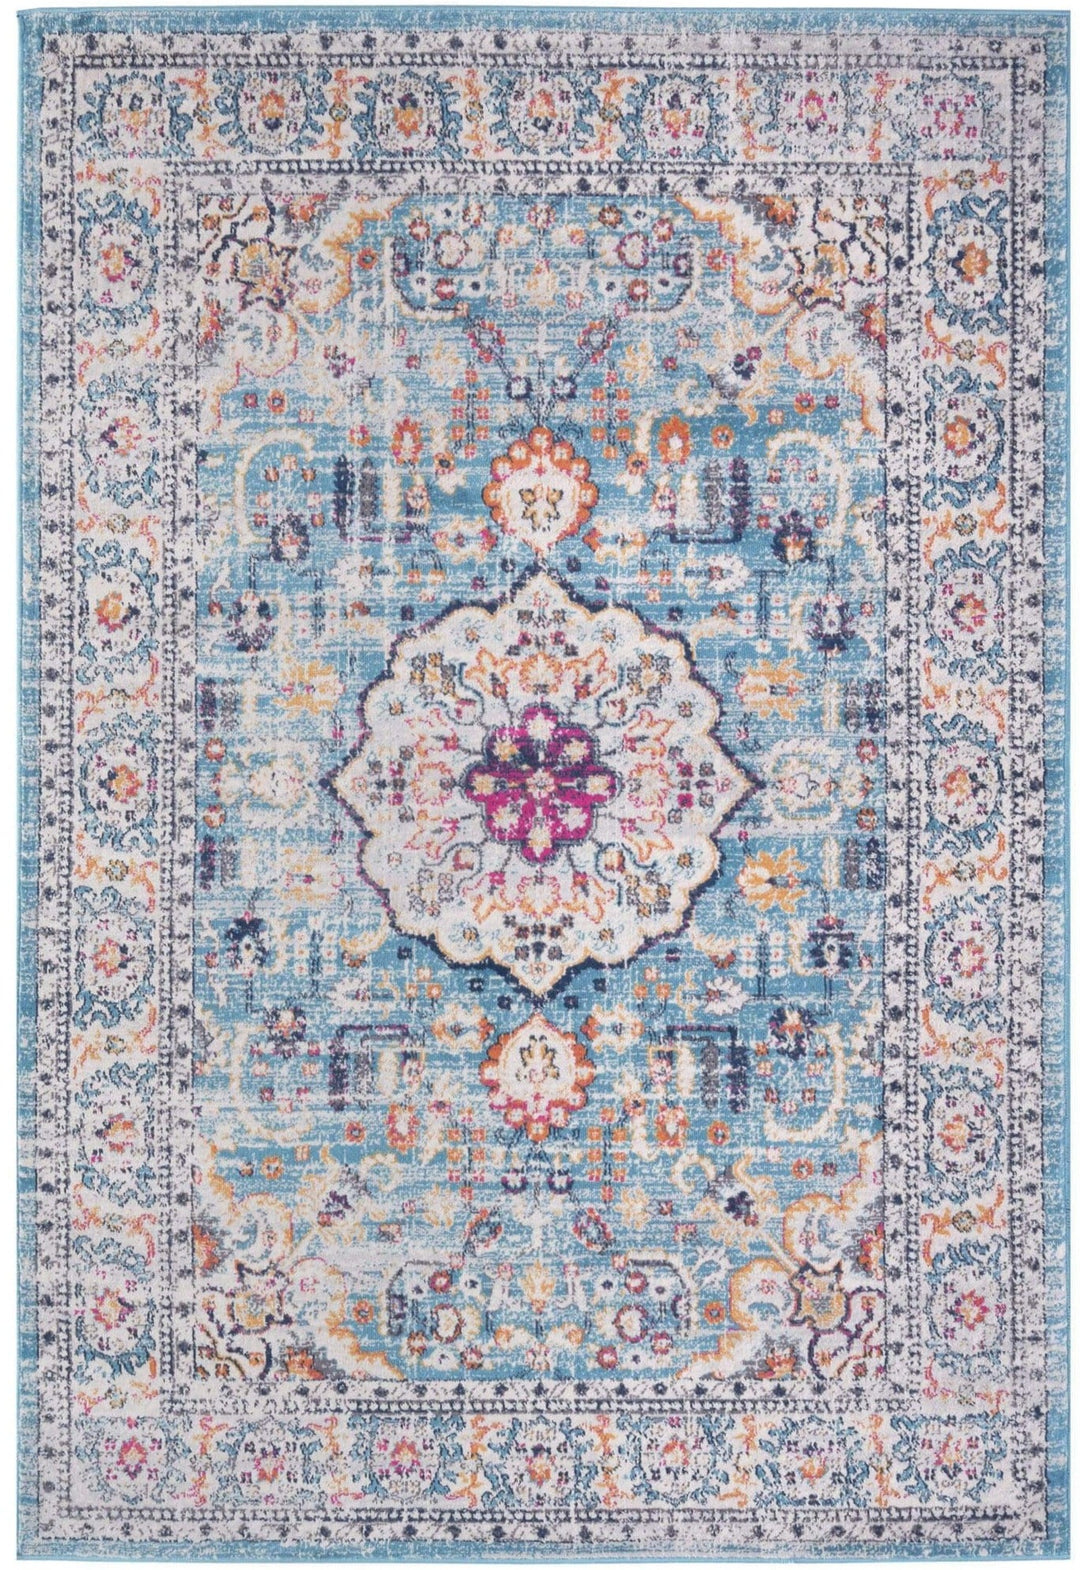
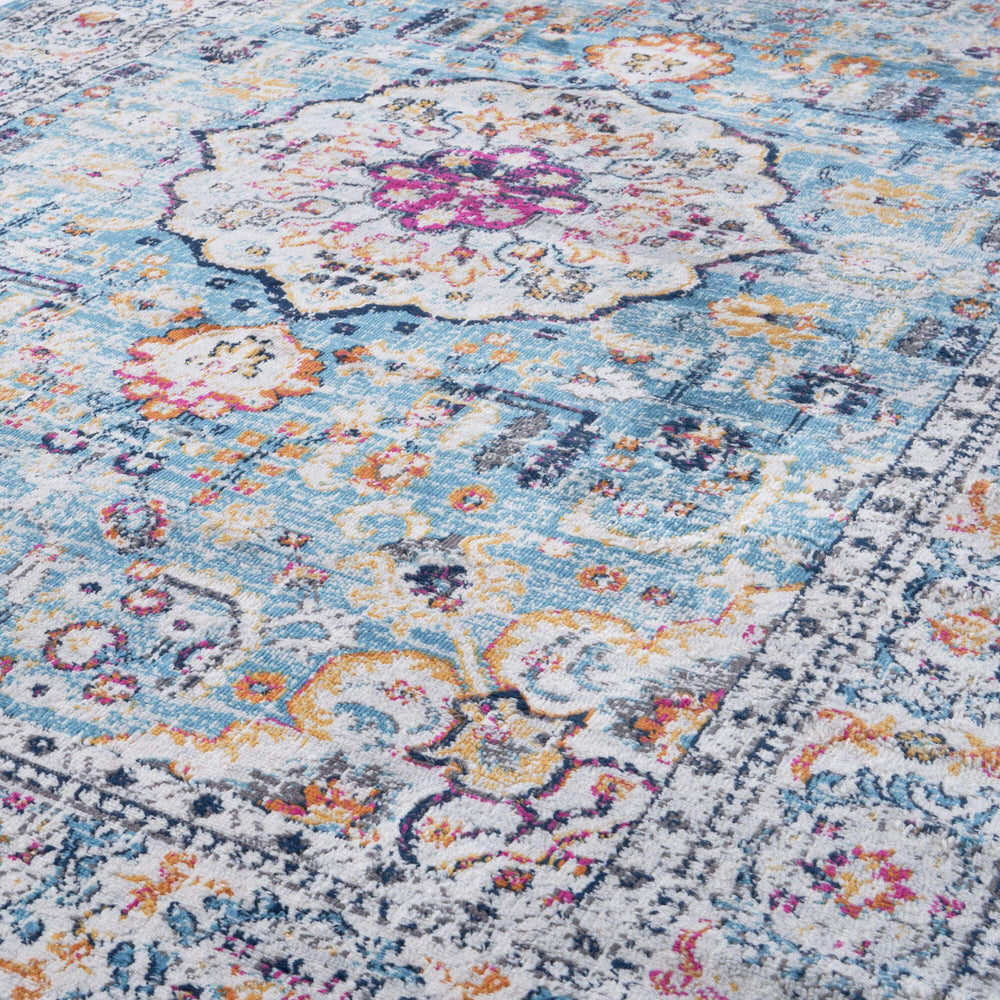
Explore the diverse styles available at THE RUGS, where traditional elegance meets contemporary flair. Whether you're drawn to the rich colours of classic motifs, the boldness of modern designs, the harmonious blend of transitional styles, or the free-spirited allure of bohemian patterns, our collection caters to diverse tastes. Our rugs provide a variety of options, from plush shag comfort to Nordic simplicity, vibrant Moroccan patterns, and tribal Kilim charm. These options include luxurious shag, clean Nordic styles, lively Moroccan patterns, and rustic Kilim charm. Embrace the eco-friendly allure of natural fibre rugs, the vintage charm of overdyed pieces, the intricate beauty of Persian designs, or the Native American-inspired Southwestern patterns. At THE RUGS, discover the perfect rug that complements and elevates your home's aesthetic, providing both style and comfort to your living spaces.
What We Stand For?
At The Rugs, we redefine the art of rugs with a commitment to quality, craftsmanship, and style. As a leading rug company, we stand for more than just floor coverings; we stand for creating an unparalleled experience that enriches your living spaces.